This week I had some trouble deciding what to cook for the blog. I wanted to try something other than traditional French cuisine, but couldn’t settle on another culture or region, or even on one kind of protein. That was when jambalaya popped into my head. It’s spicy, hearty comfort food that can be made with a mish-mash of your favorite meat and seafood. Best of all, it’s cost-effective and can easily feed a crowd (not that I really have a crowd to feed).
While I was wandering through Whole Foods on Sunday night to purchase everything I needed, it occurred to me that my recipe only called for 4 ounces of chicken, 5 ounces of Andouille sausage, and 12 shrimp. Way to get specific, Emeril!
Initially, I had gone straight to the prepackaged meats section, where I realized that I’d end up buying way too much meat for this recipe. I ended up checking out the butcher counter instead, where I easily purchased one large chicken breast and two links of Andouille. I ended up saving myself a nice chunk of change.
This tip may seem like a no-brainer for some, but we are so conditioned to gathering pre-packed food at the supermarket, that unless we need something special-ordered or can’t readily find what we need, we don’t even speak to the butcher. It used to be that having a good relationship with your butcher or fishmonger was the only way to get the best cuts of meat or the freshest seafood.
As a young lady living alone, I am constantly trying to find ways to make appropriate portion sizes, cut down on my grocery bill, and minimize food waste. Usually, I’m pretty uncomfortable when speaking with the butcher (or buying any unfamiliar cuts of meat) because I find the terminology super confusing. I’m happy that I finally moved out of my comfort zone, and maybe now I’ll learn something new!
That’s enough on my butcher counter epiphany. Here’s your run-down on the history of jambalaya:

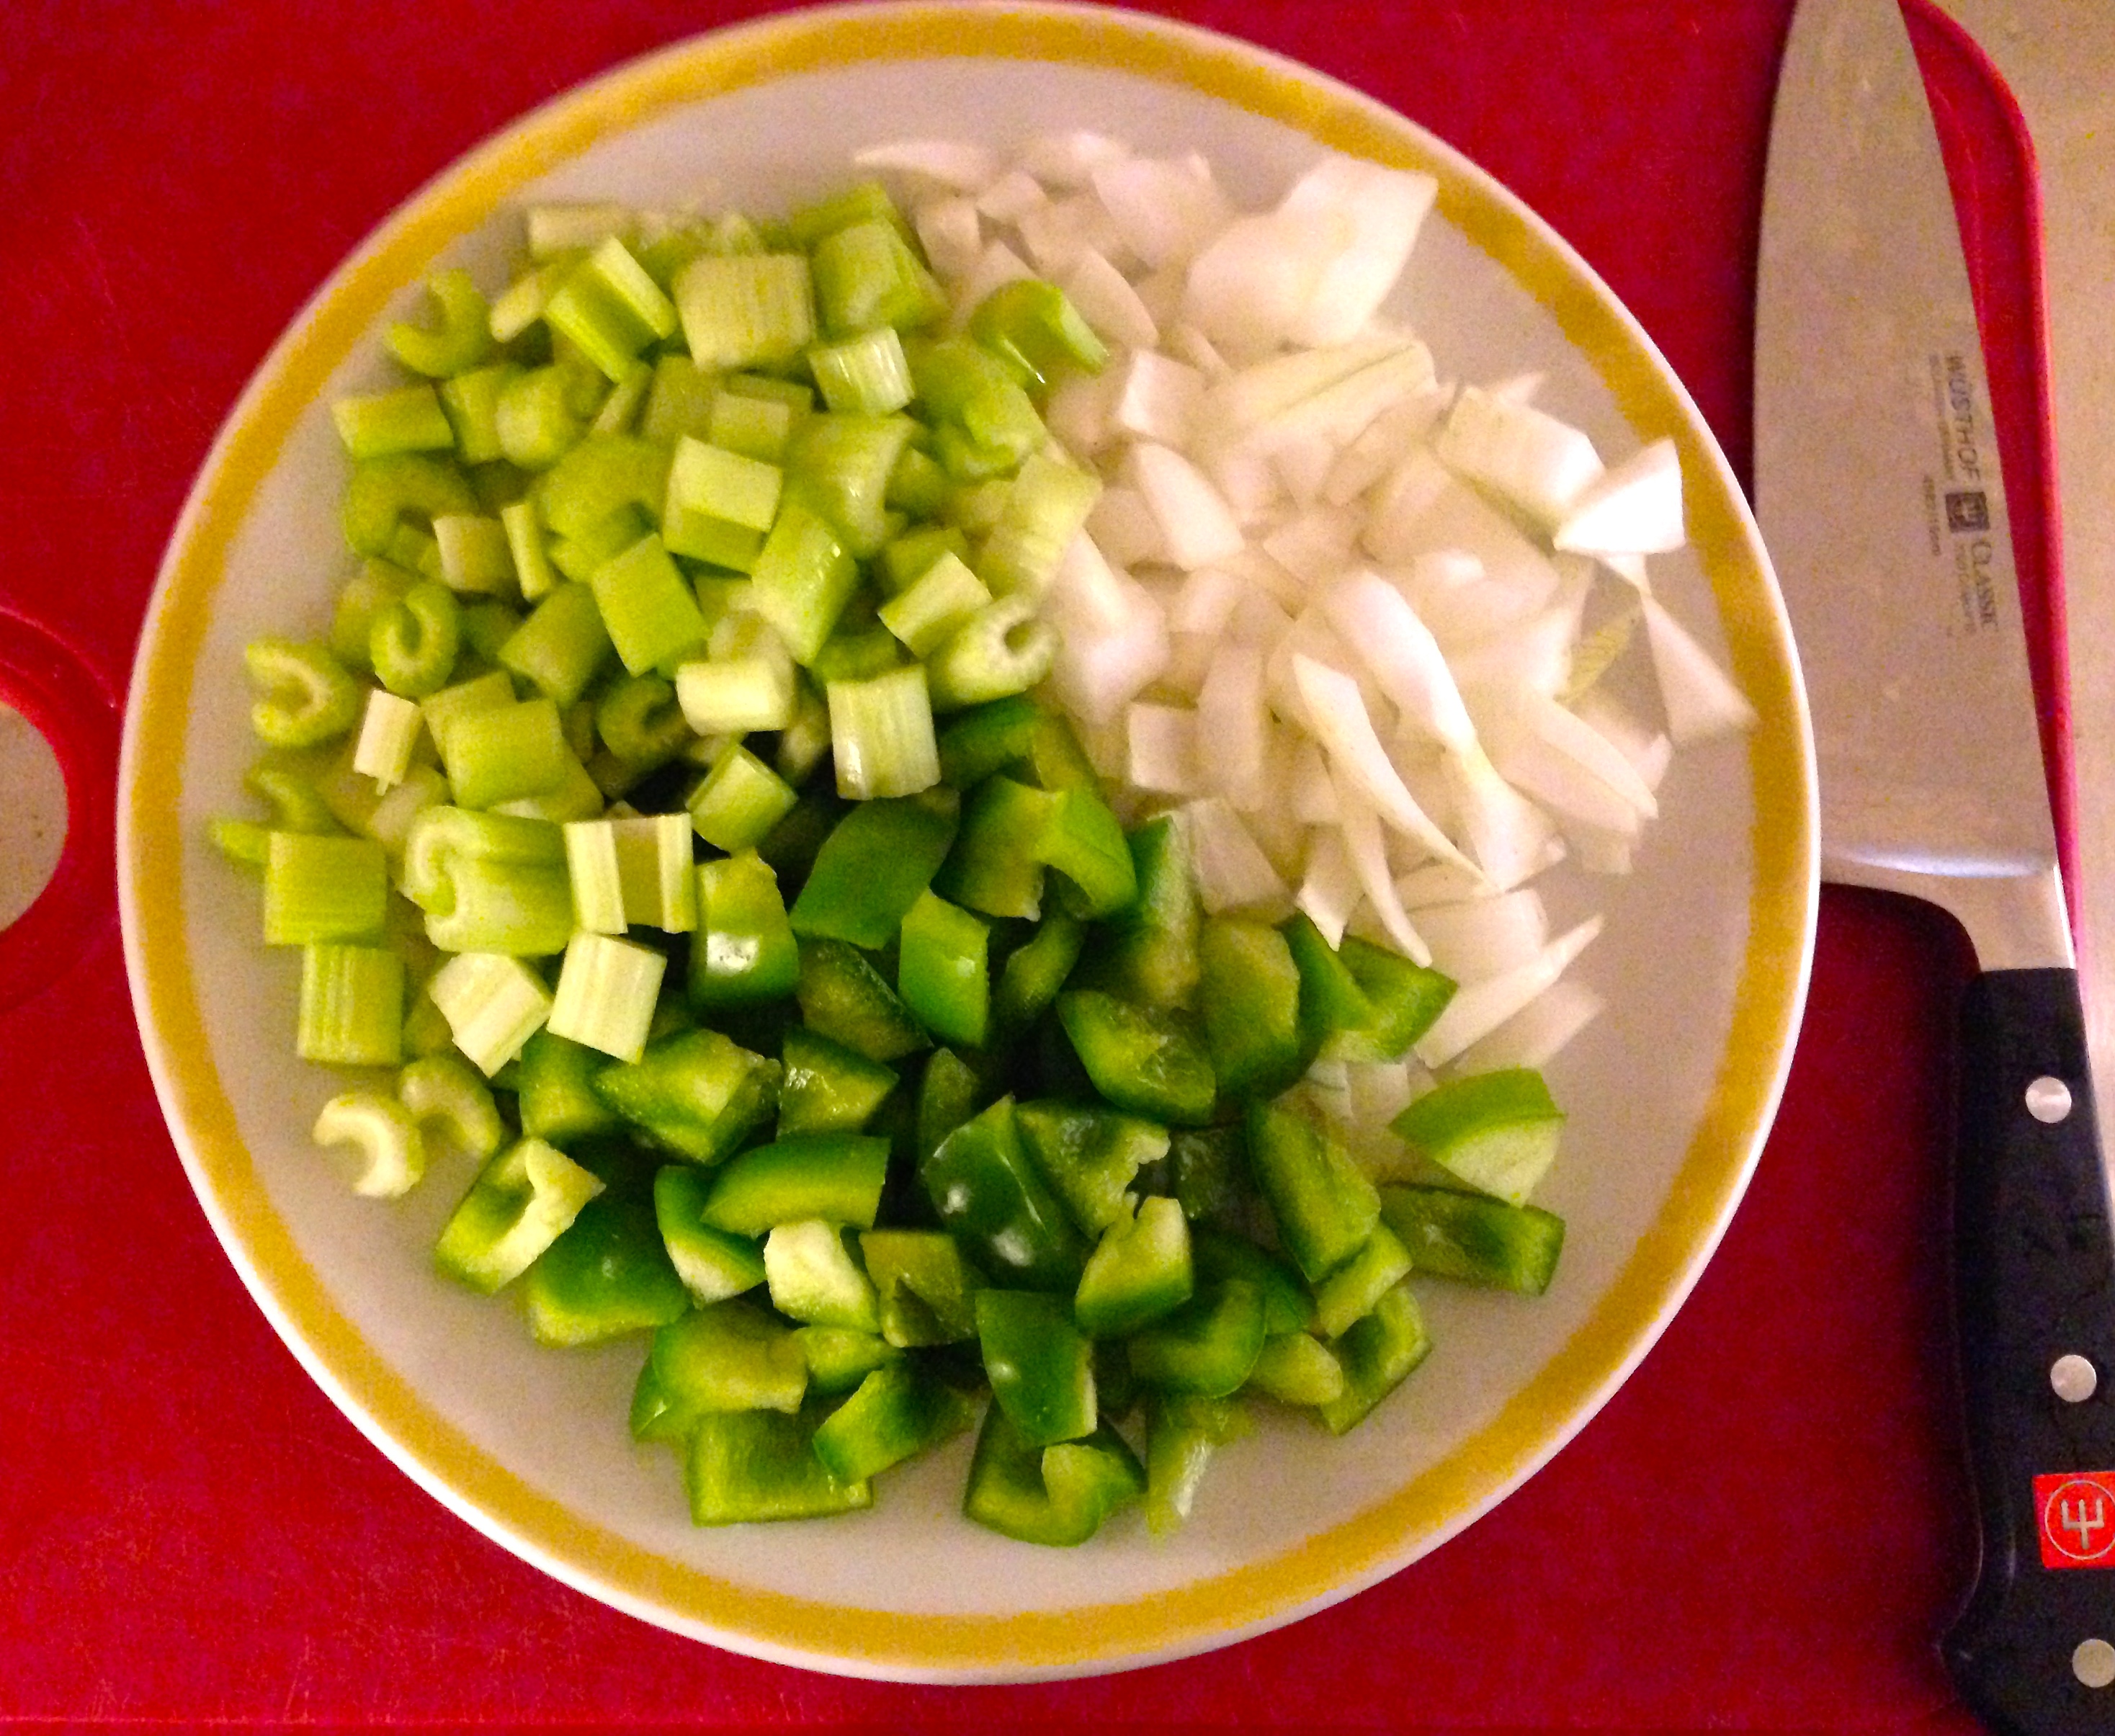
The ‘Holy Trinity’ of bell pepper, onion, and celery.
As with many dishes, the precise origins of jambalaya are unclear. Over the centuries, countless cultures ebb and flow, mixing together around the world. Places like Louisiana develop into vibrant melting pots, producing remarkable cuisines that can’t easily be tracked back to a single source. Plausible theories abound, and legends and folklore end up becoming “fact.”
One of the most popular explanations for the origin of jambalaya cites jambon, the French word for ham, and yaya, a supposed African term for rice. Although this is a creative theory suggesting it began as a ham and rice dish, many experts have discounted it. Comparisons of jambalaya to Spanish paella, West African jollof rice, and the French-Provencal “jambalaia,” or fowl, vegetable, and rice stew, confuse things even further.1, 2
A few years ago, culinary historian Andrew Sigal conducted a fascinating and extensive study into the origins of both the word jambalaya and the culinary dish. After a great deal of research, a decisive answer still was not reached, but Sigal leaned toward a Provencal origin for the word and a collective cultural origin for the dish. As he puts it:
The recipe might have been created or named in Europe, Africa, or America, and the creators might have been French, Occitan, Spanish, Acadian, Native American or African.3

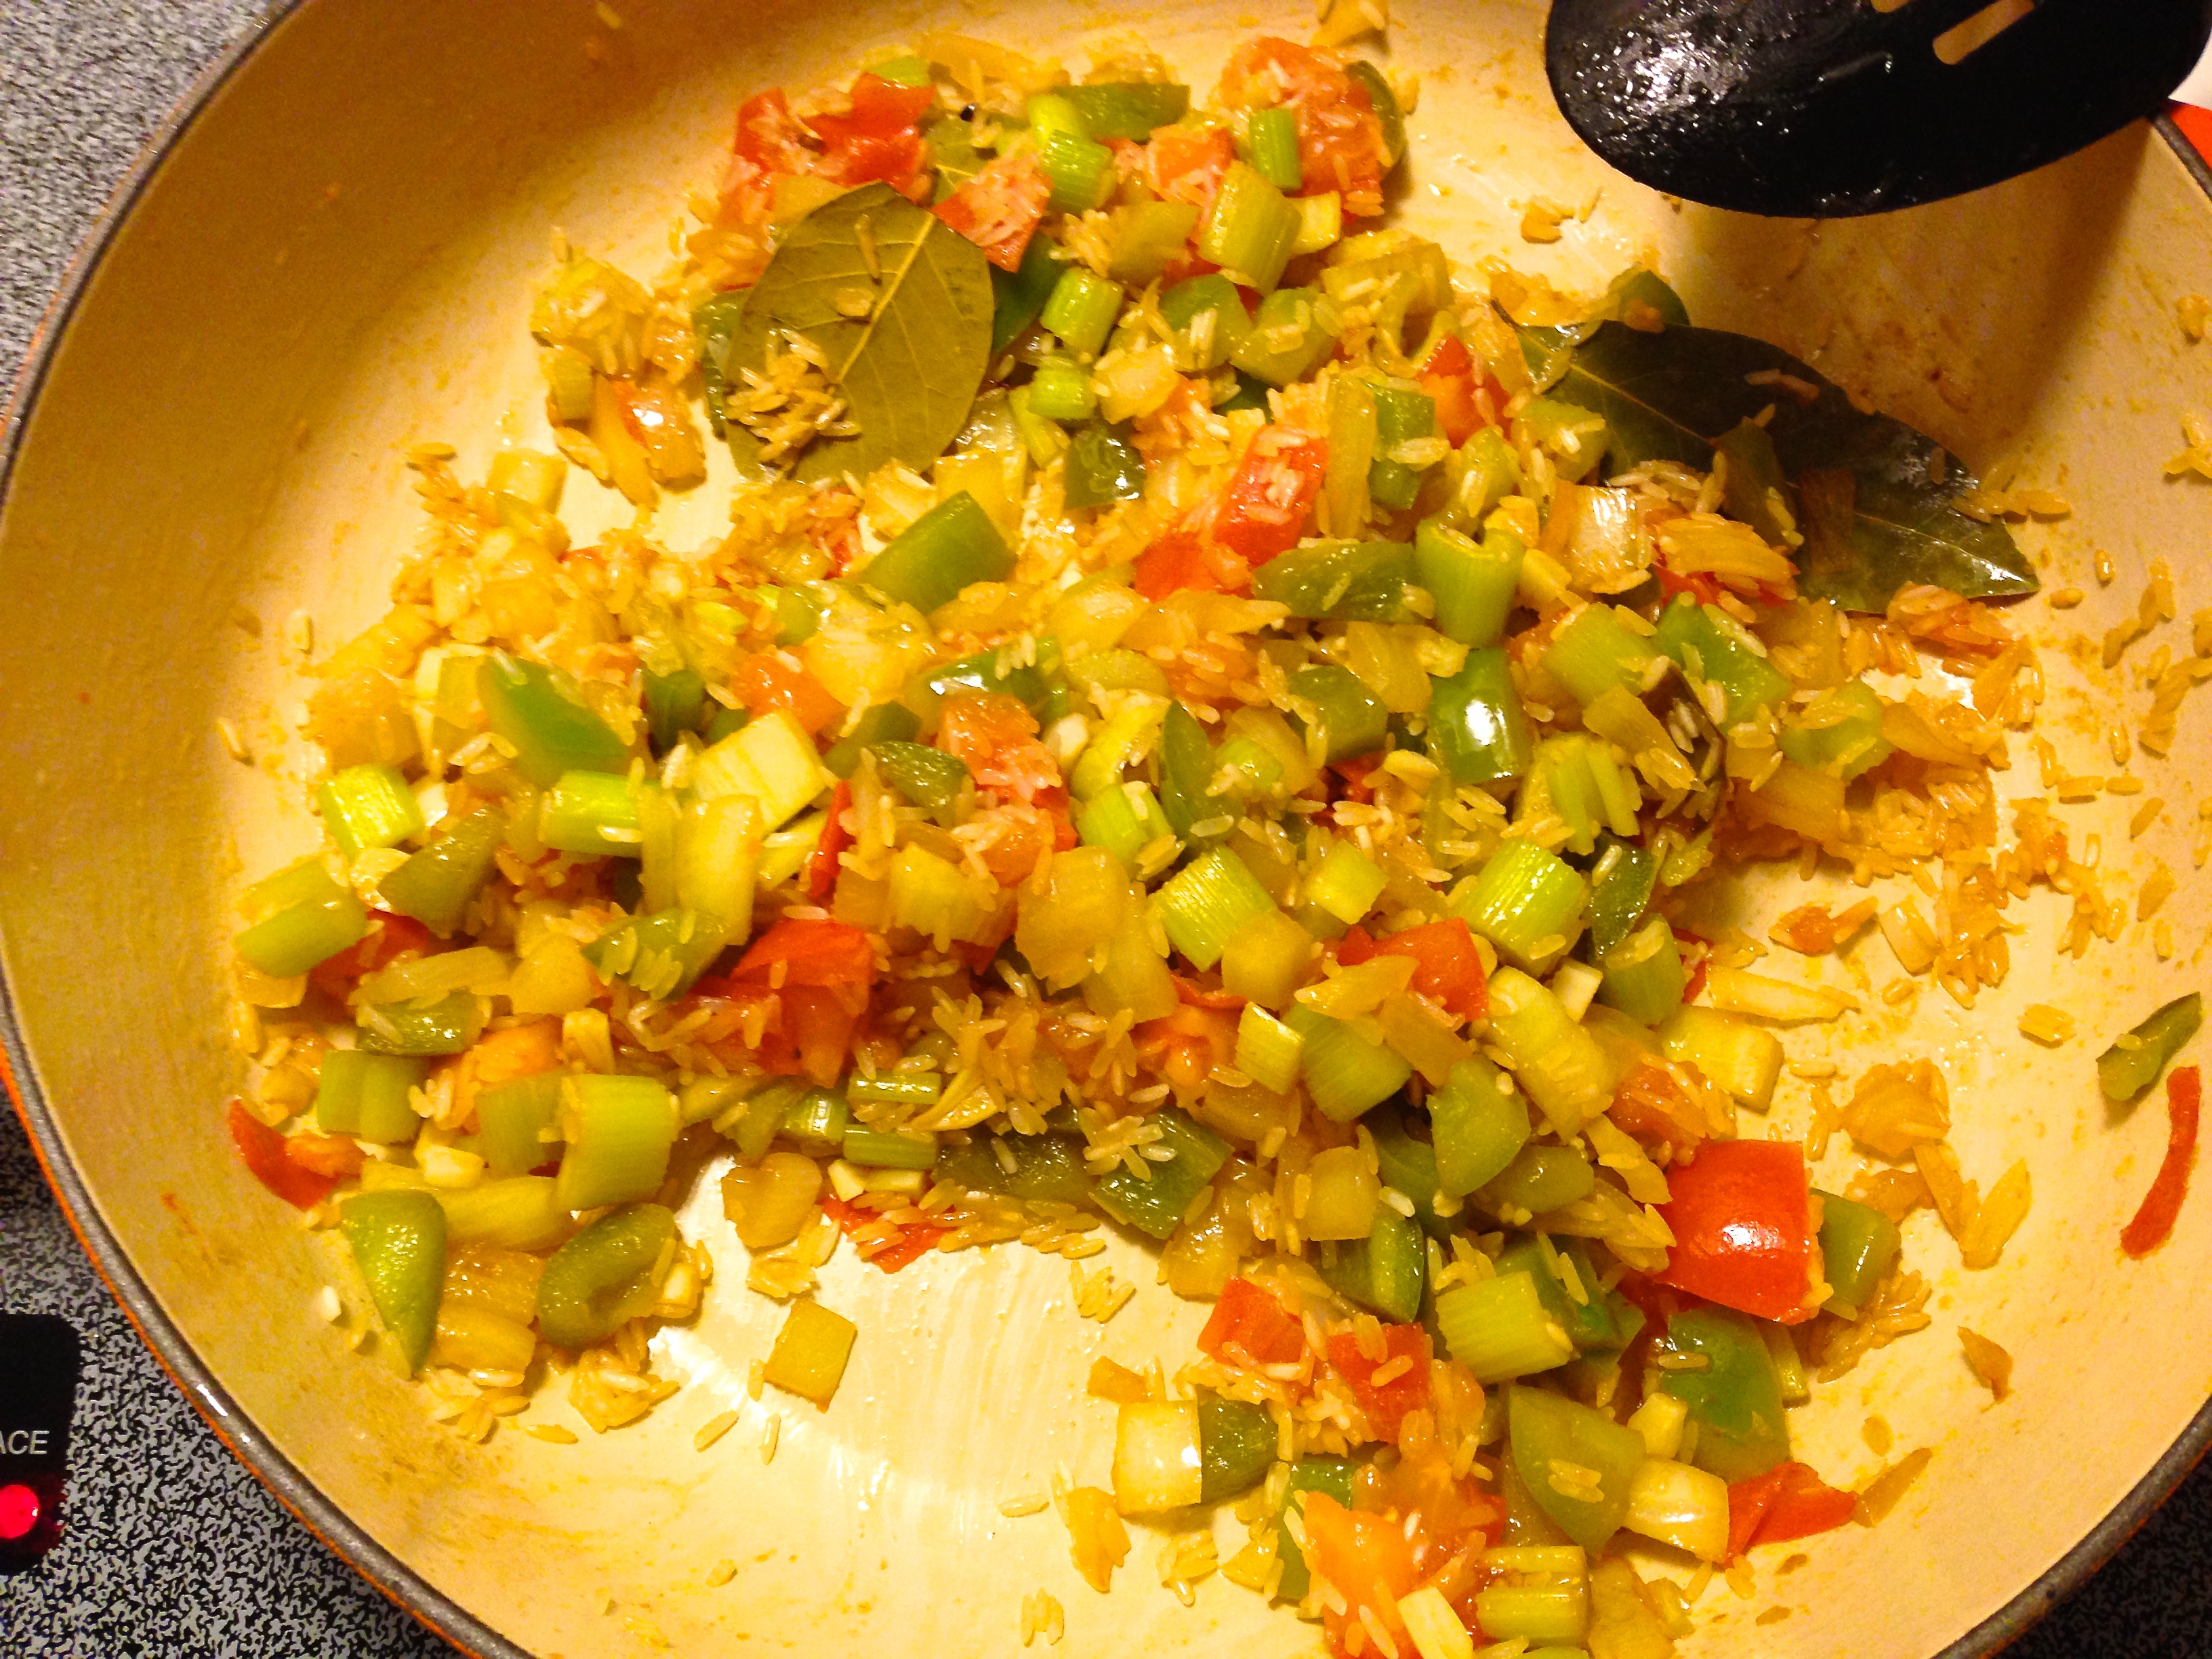
The ‘Holy Trinity,’ tomatoes, and rice just before the chicken broth is added.
Regardless of its ambiguous geographical, cultural, and linguistic origins, pinning down an “authentic” recipe for jambalaya can be equally as frustrating. Enthusiasts disagree over whether tomatoes should be included, what kind of rice to use, how much of the holy trinity should be added, and which proteins belong in this dish.
Ultimately, the argument over certain ingredients and cooking methods has boiled down (no pun intended) to two separate camps: red and brown. The “city” or New Orleans version of jambalaya is usually red, due to the addition of tomatoes—a hallmark of Creole cuisine. On the other hand, the brown version is more prevalent in rural areas of Louisiana since it is typically cooked in a cast-iron pot, which lends itself to more thorough caramelization of the ingredients. This produces the brown color that is then absorbed by the rice.1

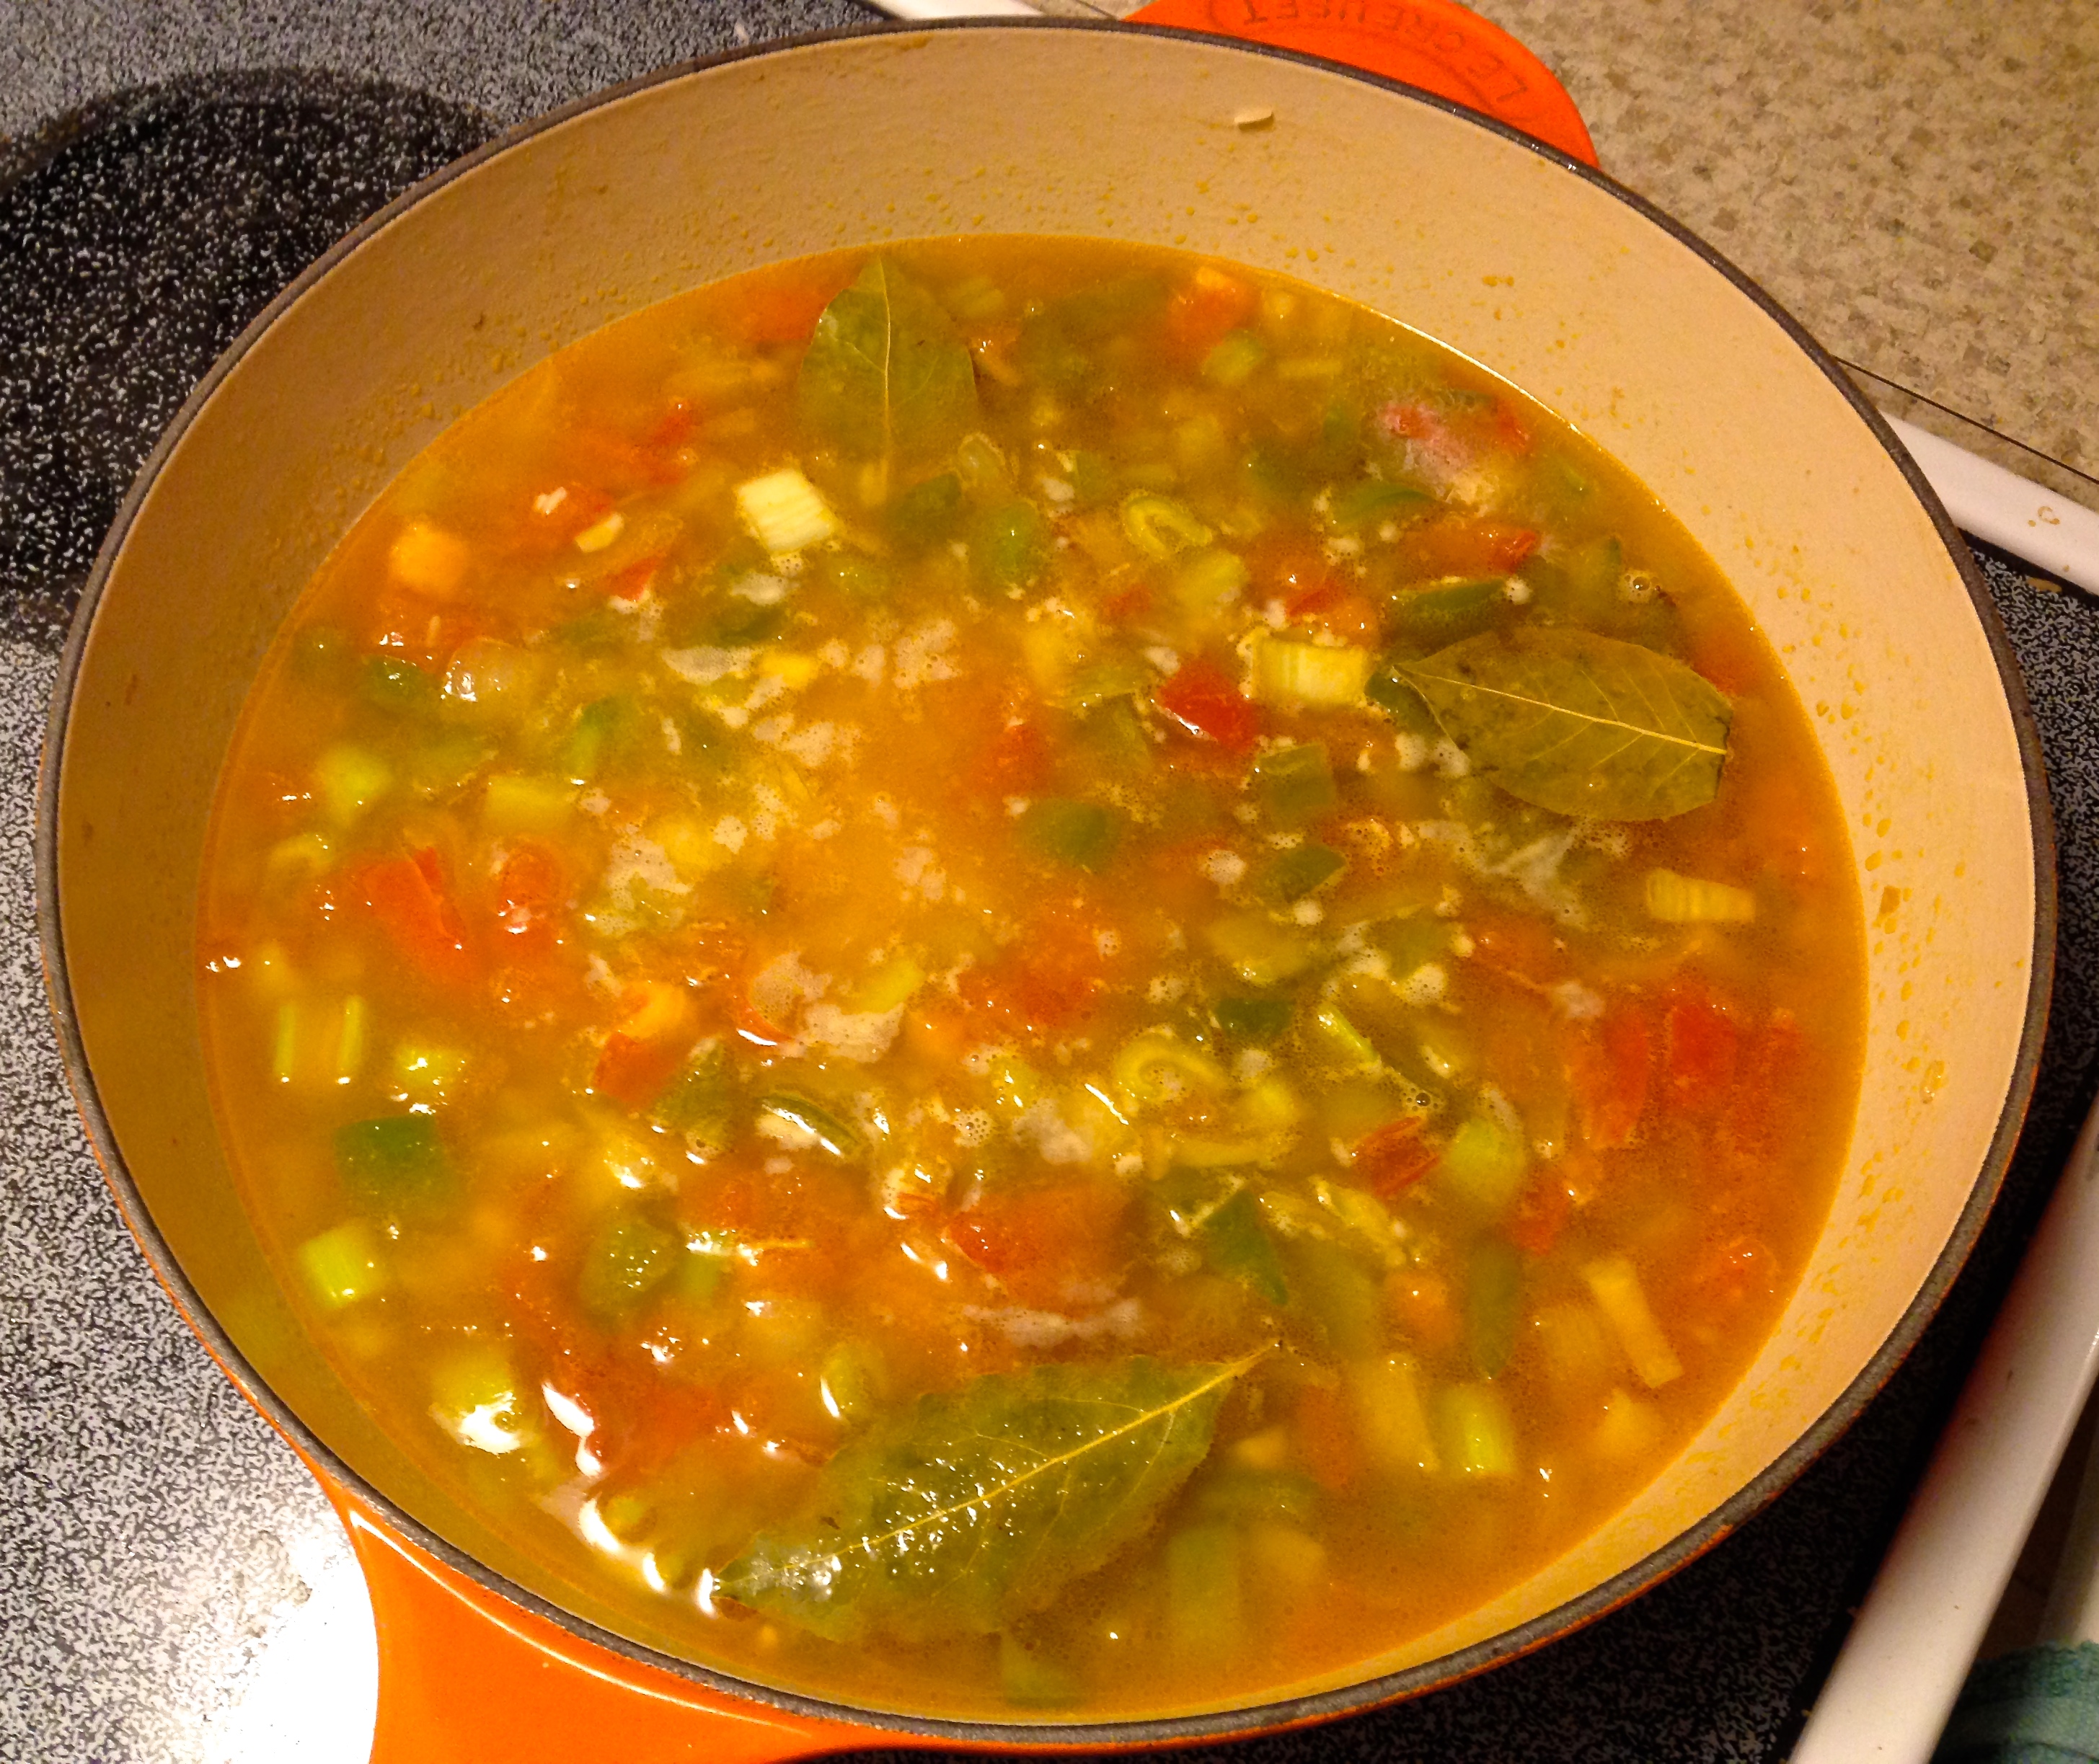
The meat and/or seafood isn’t added until the rice is nearly done cooking.
I have adapted the following recipe from renowned chef Emeril Lagasse, but make no claims about its authenticity! I left the tails on the shrimp for a bit more flavor, added an extra dash of Lagasse’s signature spice blend, and, as usual, doubled the veggie content. I hope you like your jambalaya hot!
Cajun Jambalaya
(Adapted from Chef Emeril Lagasse’s Jambalaya episode of The Essence of Emeril)
- 12 medium shrimp, peeled and deveined with tails attached
- 4 ounces chicken, diced
- 1 ½ tablespoons Creole seasoning, recipe follows
- 2 tablespoons olive oil
- 1 cup chopped onion
- 1 cup chopped green bell pepper
- 1 cup chopped celery
- 2 tablespoons chopped garlic
- 1 cup chopped tomatoes
- 3 bay leaves
- 1 teaspoon Worcestershire sauce
- 1 teaspoon hot sauce
- 3/4 cup long-grain rice
- 3 cups chicken stock
- 5 ounces Andouille sausage, sliced
- Salt and pepper
Combine the shrimp, chicken, and Andouille sausage in a bowl with the Creole seasoning, and mix by hand until the meat is thoroughly coated.
Heat the oil in a large pan over medium-high heat and sauté the onion, pepper, and celery for about 3 minutes. Next, add the garlic, tomatoes, bay leaves, hot sauce, and Worcestershire sauce. Stir in the rice, and then slowly add the broth.
Reduce the heat to medium, and cook for approximately 15 minutes, or until the rice becomes tender, but is not yet fully cooked. At this time, add the shrimp, chicken, and sausage, stirring well, and cook for another 10 minutes, or until the meat is cooked through.

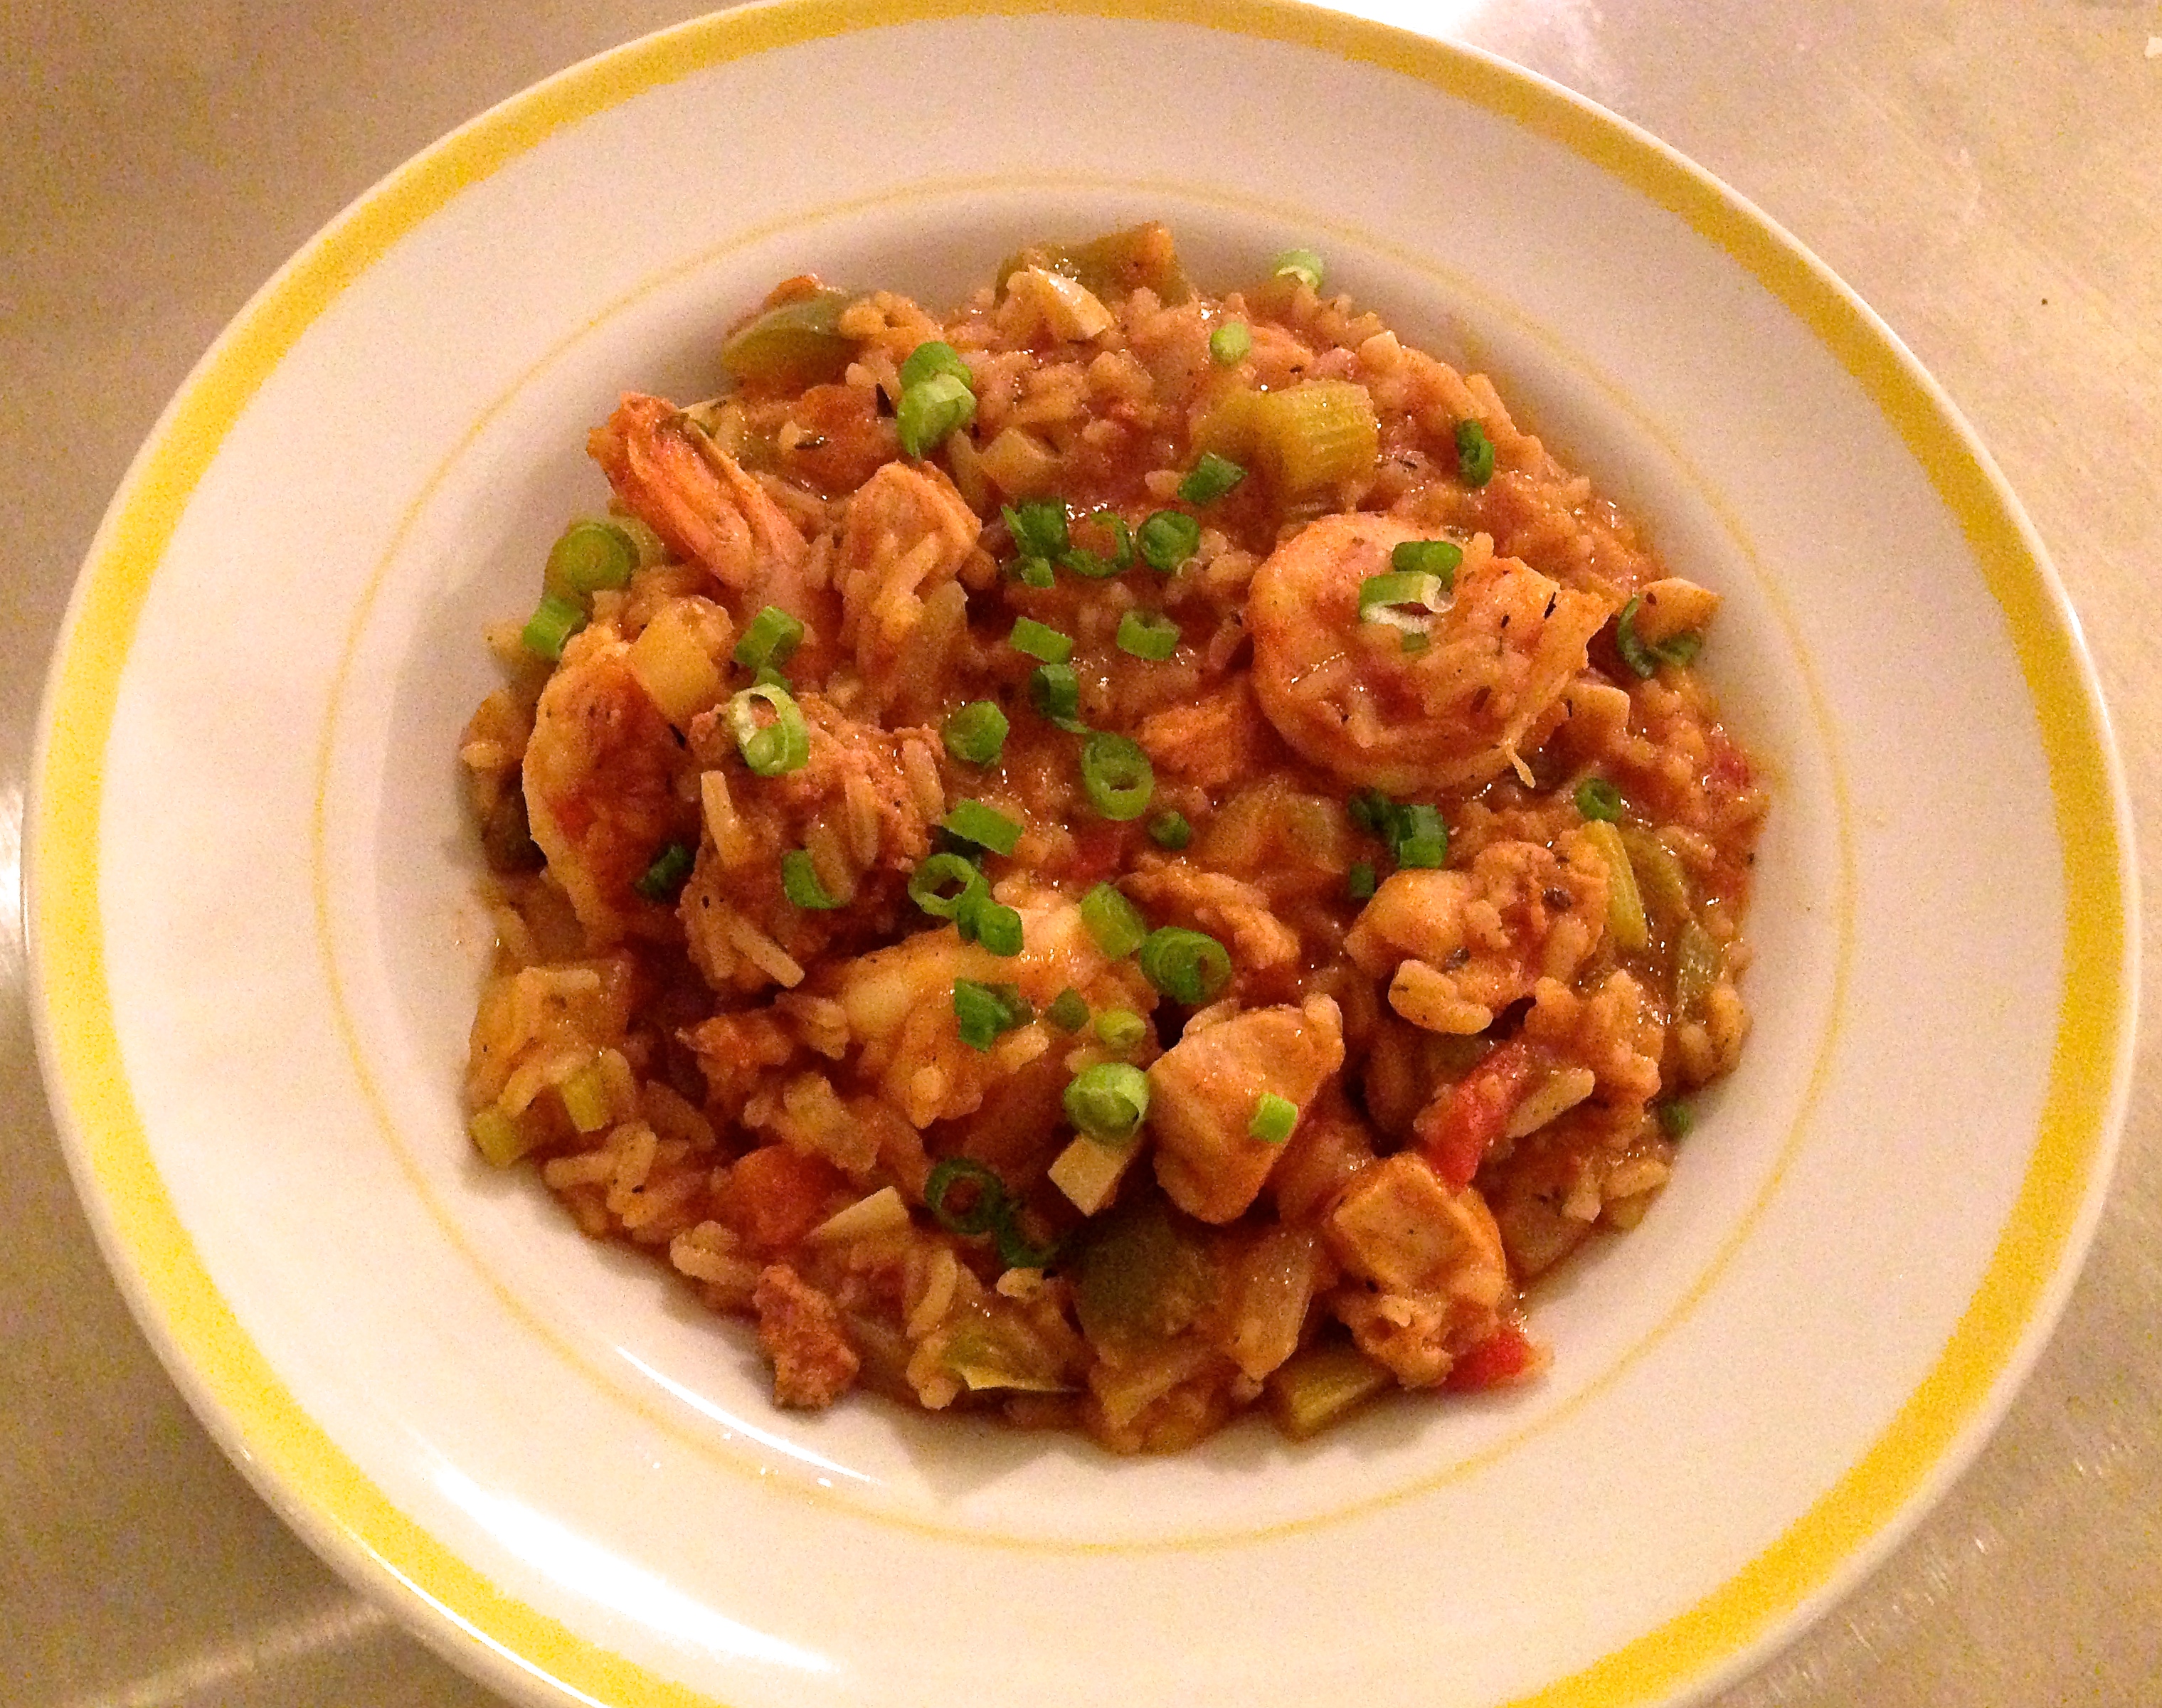
The finished product!
In the recipe above, I suppose you could use your favorite creole seasoning mix. However, this was a great blend, and I can’t wait to use the leftovers for other recipes! (FYI, this makes a whopping 2/3 of a cup of seasoning)
Emeril’s ESSENCE Creole Seasoning (also referred to as Bayou Blast):
- 2 ½ tablespoons paprika
- 2 tablespoons salt
- 2 tablespoons garlic powder
- 1 tablespoon black pepper
- 1 tablespoon onion powder
- 1 tablespoon cayenne pepper
- 1 tablespoon dried oregano
- 1 tablespoon dried thyme
Sources:
-
-
-