When I decided to feature osso buco on the blog this week, I had no idea what I’d gotten myself into. Tender medallions of veal slowly braised on the bone in a sauce of white wine, homemade stocks, aromatics, and fresh herbs—I’m about to abandon this post and run to the kitchen for seconds. However, if you are as eager to try your hand at this dish as I was, there are a few things I must mention first:
- Veal shanks aren’t cheap.
Unfortunately, I knew that this specific cut of meat wasn’t going to be particularly affordable, but I was hell-bent on using veal. (Until I actually started speaking with butchers at grocery stores around town, which brings me to number two…)
- Give yourself plenty of advance notice to hunt down or order some shanks.
I can’t speak for all grocery stores, but after visiting and phoning a number of markets around town, it became clear to me that most of them don’t stock shanks of any kind on a regular basis. Don’t get stuck planning osso buco as the highlight of a dinner party without already securing your shanks first, or you (and your guests) will be very disappointed. (Take it from me: It isn’t cute to start desperately begging butchers for “any kind of shank you’ve got in the walk-in.”)
- There are alternatives to veal.
Just plain can’t locate some veal? Feeling guilty about consuming delicious baby cows? Want to avoid taking out a loan to buy such a glorious cut of meat? I totally understand. Fortunately, there are other options! Beef, lamb, and pork shanks can all be used, but remember that the flavor of your end result will be different from the traditional veal, and these cuts will vary in size as well, possibly warranting a bit more cooking time.

“I WILL FIND YOU, VEAL SHANKS.”
Those are the main lessons I learned in my first experience with veal shanks. Hopefully these tips save you the hassle of running from store to store interrogating butchers about shanks like you’re Liam Neeson searching for his daughter in Taken.
Now that you’ve been briefed on my veal woes, we can get to some of the more interesting history behind osso buco:
In Italian, osso bucco means “bone with a hole” and refers to the decadent, marrow-filled shin bone that is a defining characteristic of this dish.1 I had never tried roasted marrow until I cooked this recipe, and I must admit that I have been missing out. I have heard chef and Bizarre Foods host Andrew Zimmern refer to bone marrow as “meat butter” before, but I didn’t fully understand his description until now. The idea of eating marrow weirded me out a bit at first, but it is important to try new things and waste as little of the animals we eat as possible. I highly recommend you try it!
Osso buco is usually associated with Milanese cuisine. Traditionally, it is served with risotto alla Milanese, a golden rice dish seasoned with saffron.1 I chose to pair my braised shanks with a simple, buttery Parmesan polenta, which paired beautifully with the rich sauce.

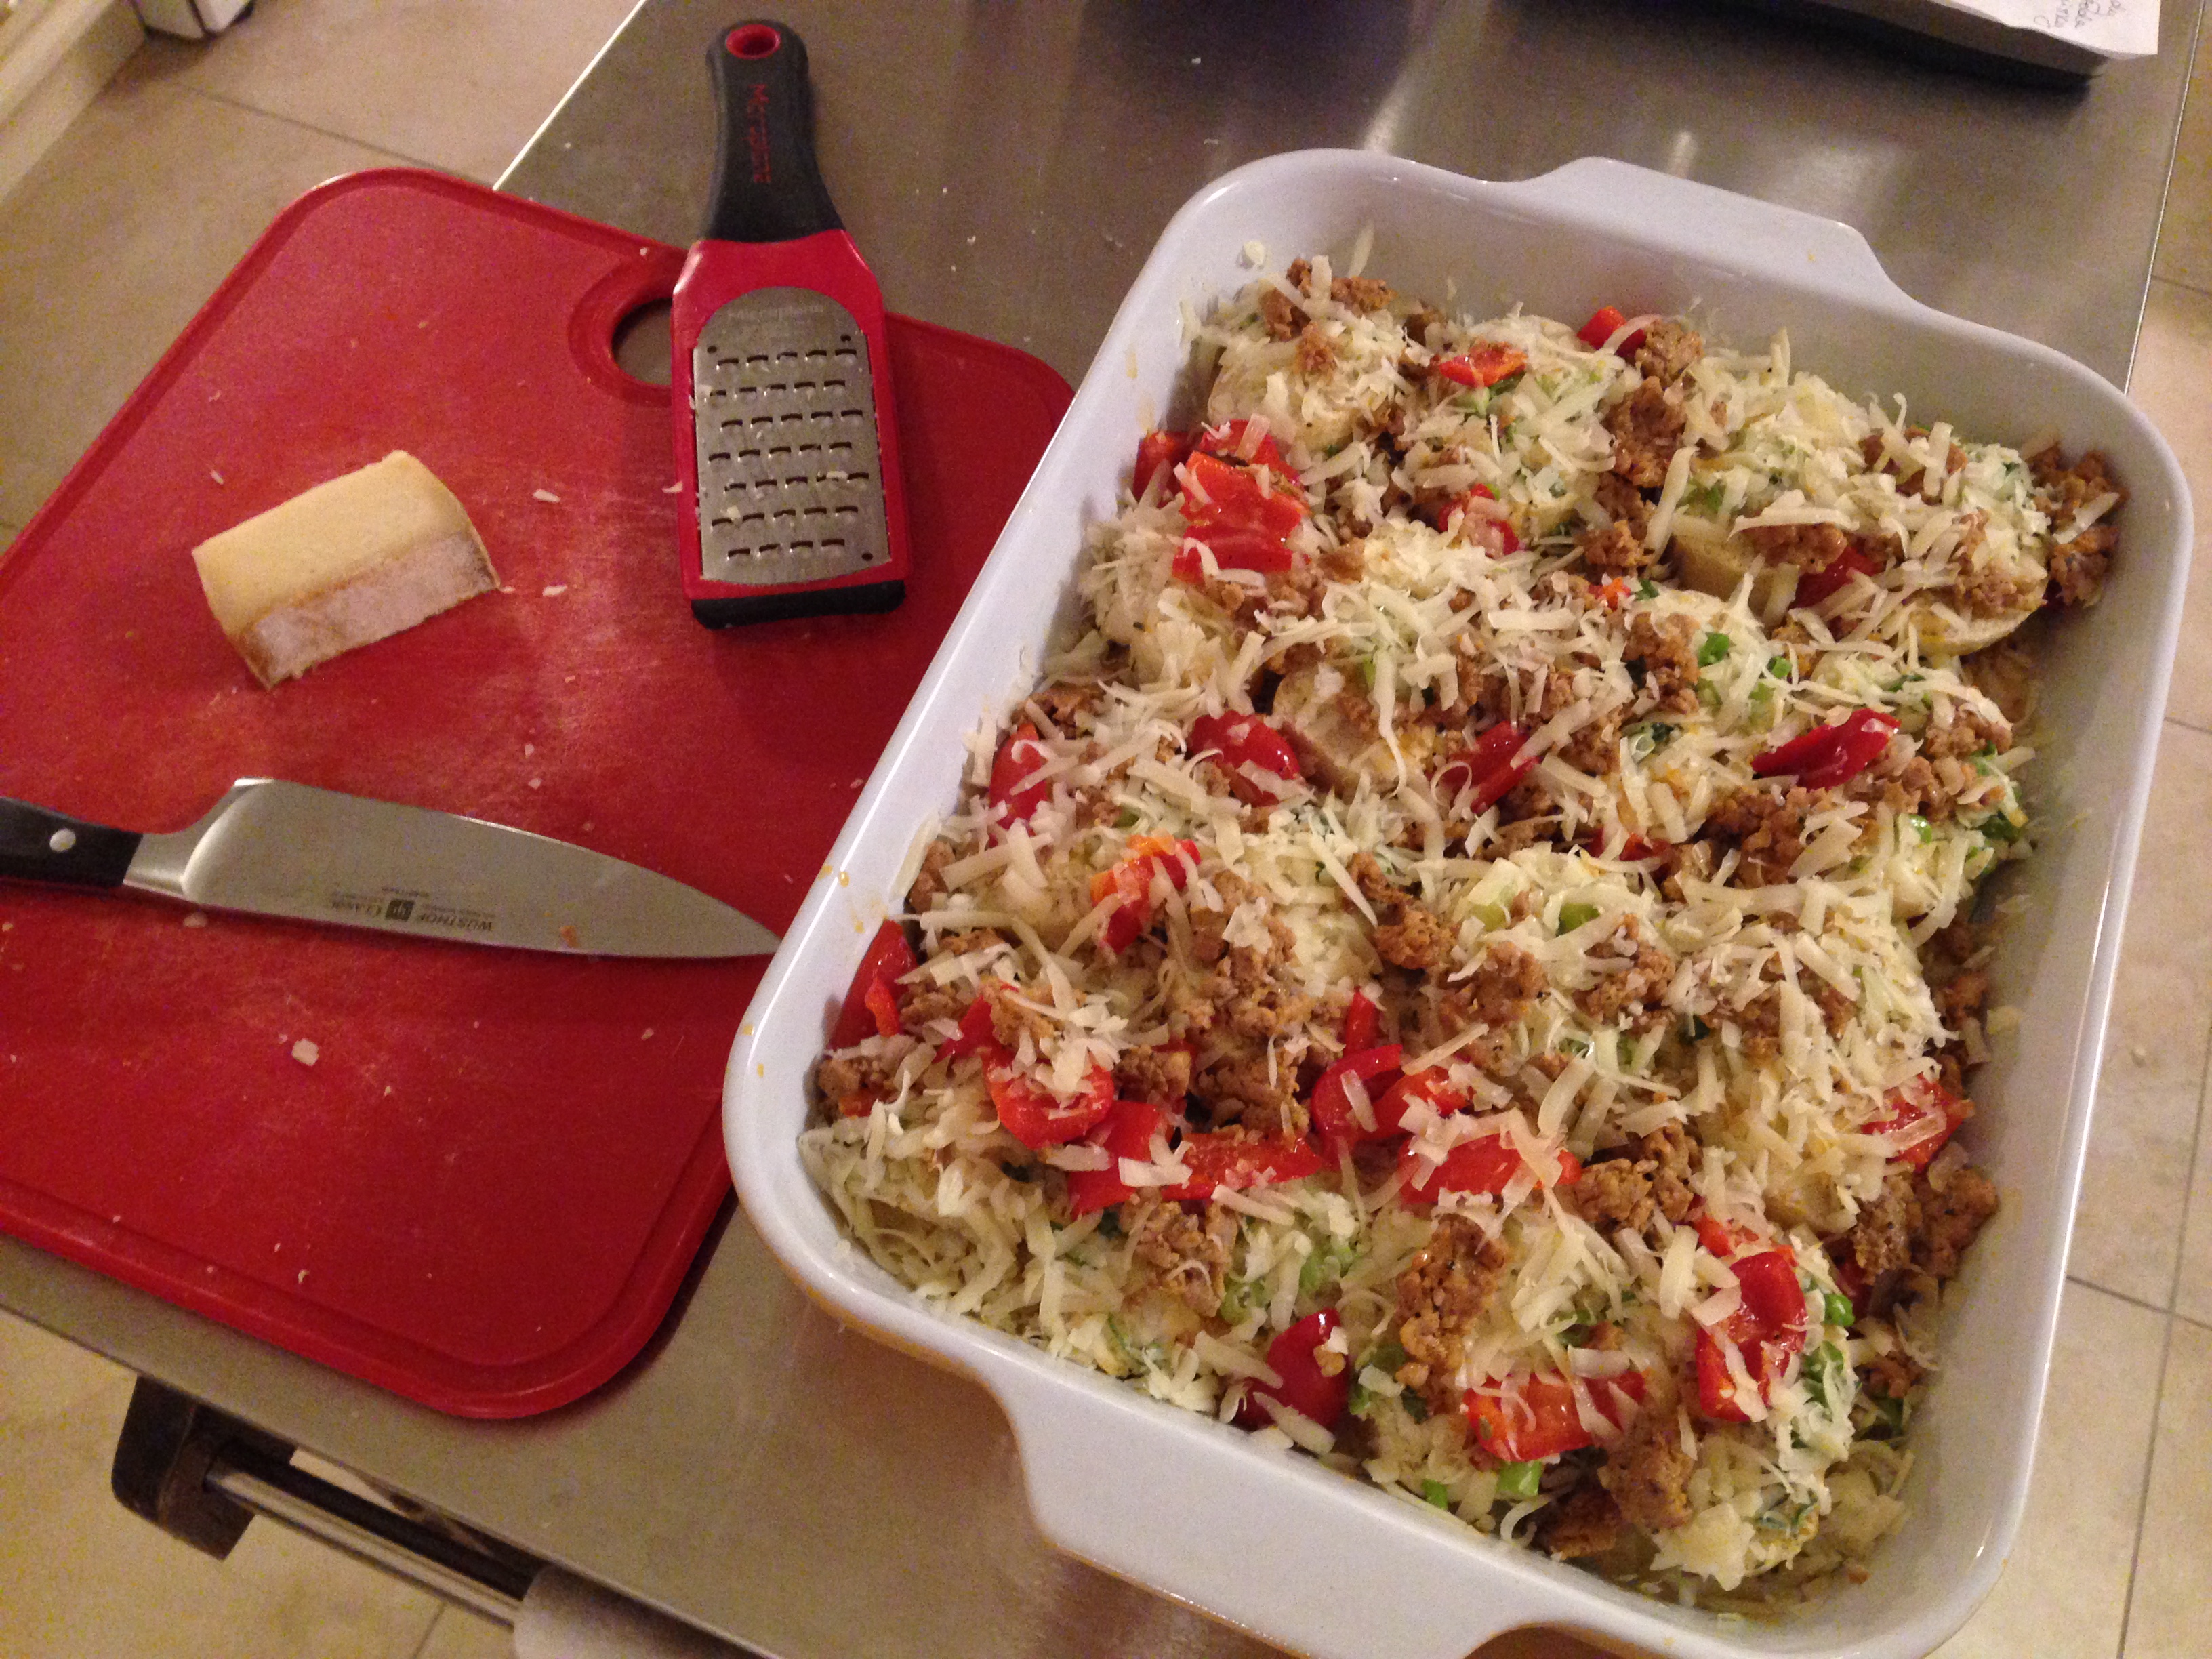
Mmm browned goodness.
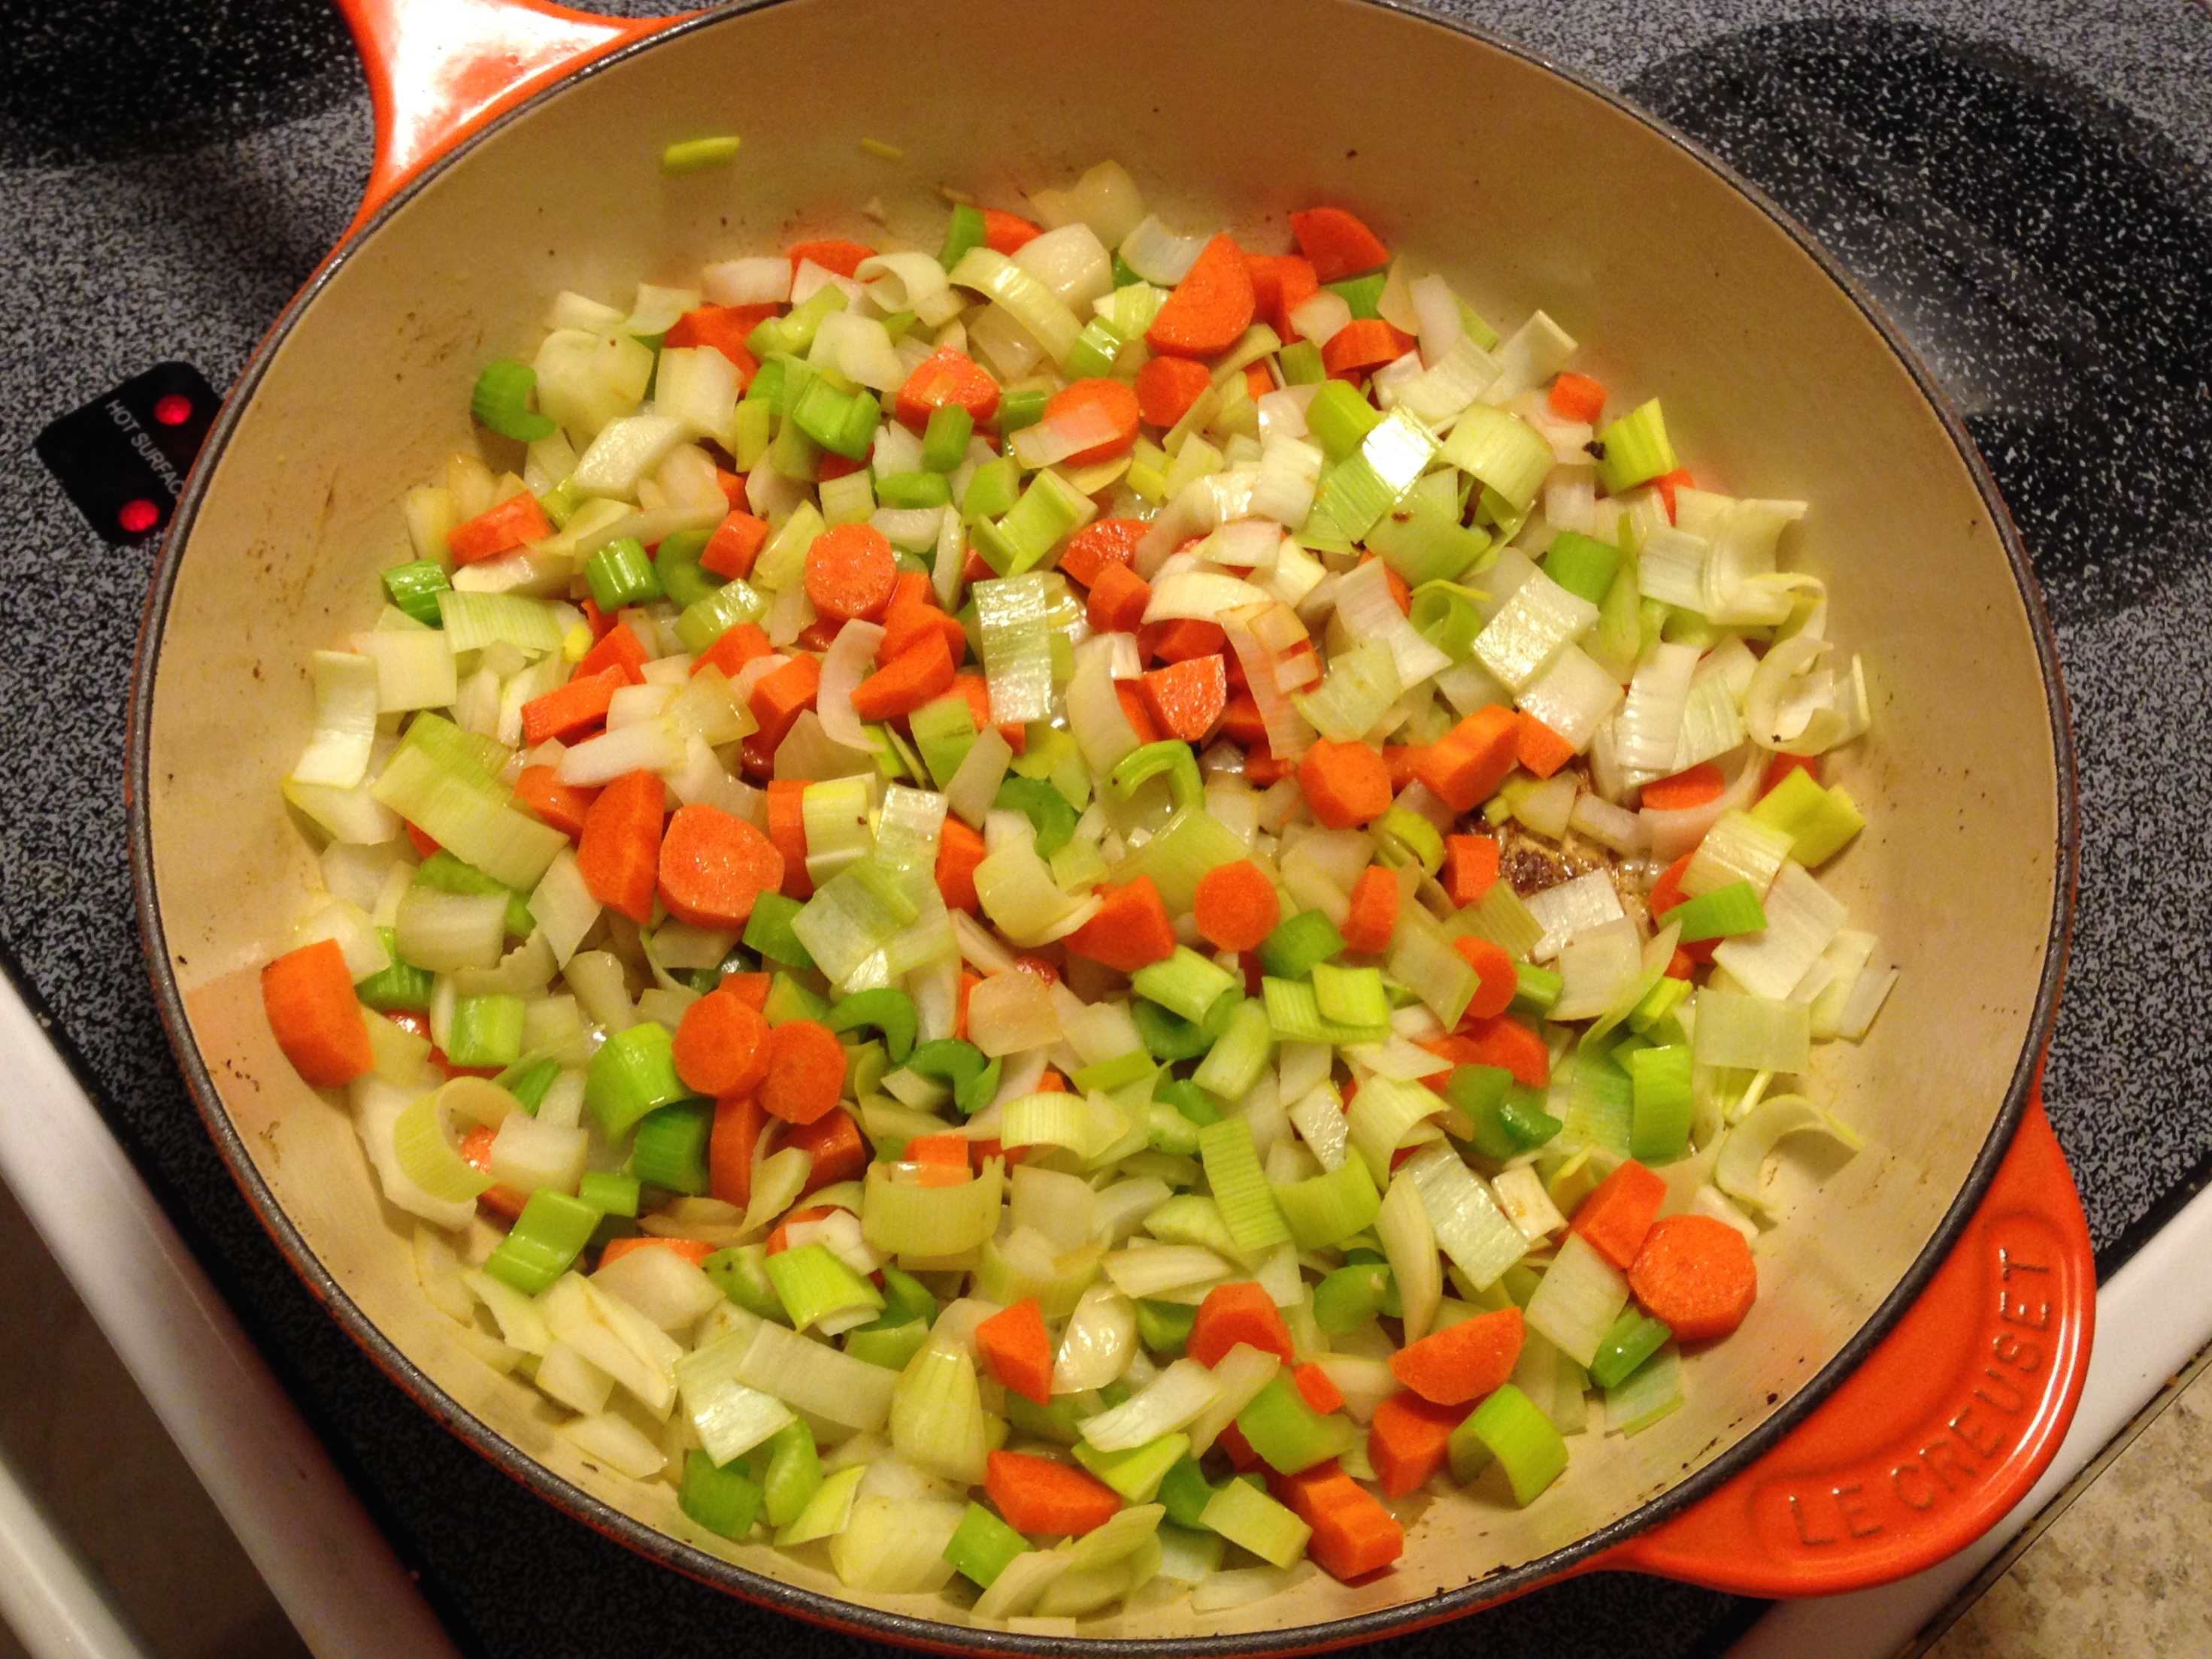
The recipe begins with two important components of making a flavorful braise, stew, or pan sauce: a fond and mirepoix. First, the veal shanks are seasoned, floured, and browned in a single layer on all sides in order to caramelize the meat a bit and develop a flavorful fond, or the browned bits in the bottom of the pan. This will naturally deglaze when the wine and stock are added to the pan and will infuse your sauce with incredible flavor.2 After removing the browned shanks from the pan, we introduce an Italian soffritto or mirepoix, consisting of chopped onions, celery, and carrots sautéed in butter or oil. (Italian soffritto is not to be confused with the Spanish/Latin version of sofrito I used in the pork pernil post!) This very simple mixture is the base for countless dishes.

Mirepoix
The principle cooking method in osso buco is braising, which has an interesting history behind it. The word braise comes from the French term for “glowing embers.” Meat and vegetables used to be cooked with a small amount of liquid in a large, heavy pot over hot coals.3 However, like on a stove, even cooking is more difficult to achieve when the heat source is only coming into contact with the ingredients on one side–the bottom. Therefore, coals were also placed in an indentation on the lid of these large vessels in order to create more even heat distribution.3 Today, we replicate this method by using braising pans or Dutch ovens that begin the cooking process atop the stove and then finish in the oven. A well-executed braise is rather simple and traps all the flavors and moisture in the ingredients, which is especially useful for transforming tough cuts of meat into fall-off-the-bone tender morsels.
Hungry yet? Let’s move on to the recipe!
Osso Buco
(adapted from Ina Garten’s Barefoot Contessa Foolproof: Recipes You Can Trust)
- 3 ribs celery, medium-diced
- 3 carrots, medium-diced
- 1 leek, cleaned well and medium-diced
- 1/2 large yellow onion, medium-diced
- 7 cloves garlic, minced
- 1/2 cup pancetta, medium-diced
- Approximately 4 Tbsp. butter
- 8 oz. mushrooms, sliced
- 1 Tbsp. lemon zest (about one lemon)
- 2 cups good chicken stock
- 2 cups good beef stock
- 1 cup dry white wine
- 4 large veal shanks tied with twine (or substitute beef, pork, or lamb shanks)
- 1 cup flour
- Kosher salt and ground pepper
- Fresh herbs for bouquet garni (I used about 5 sprigs fresh thyme, two sprigs fresh sage, two sprigs fresh rosemary, 4 sprigs fresh parsley, secured with twine)

Bouquet garni
- Kitchen twine
Preheat the oven to 350 degrees.
Rinse the shanks and dry well with paper towels. If not already tied, use one or two pieces of twine (depending on the size of the shanks) around the circumference of each shank in order to keep the meat attached to the bone as they cook.
Combine flour with 1 Tbsp. of salt and 1 tsp. of pepper. Coat each shank in flour, making sure to knock off any excess. In a Dutch oven, render the fat from the pancetta until it is browned and just crisp. Remove the pancetta pieces with a slotted spoon and set aside. Add 2 Tbsp. of butter to the pancetta fat, and once heated, brown the veal shanks in one layer on all sides. Additional oil or butter may need to be added. (Be sure not to crowd the pan, or the meat will steam instead of brown.) Once browned all over, remove the shanks to a plate.
Wipe the excess oil from the pot with paper towels. Melt 2 more Tbsp. of butter, then add the celery, carrots, leek, onion, and mushrooms. Saute over medium heat until the vegetables are tender, about 10 minutes. Add the garlic and lemon zest and cook for 1 more minute.

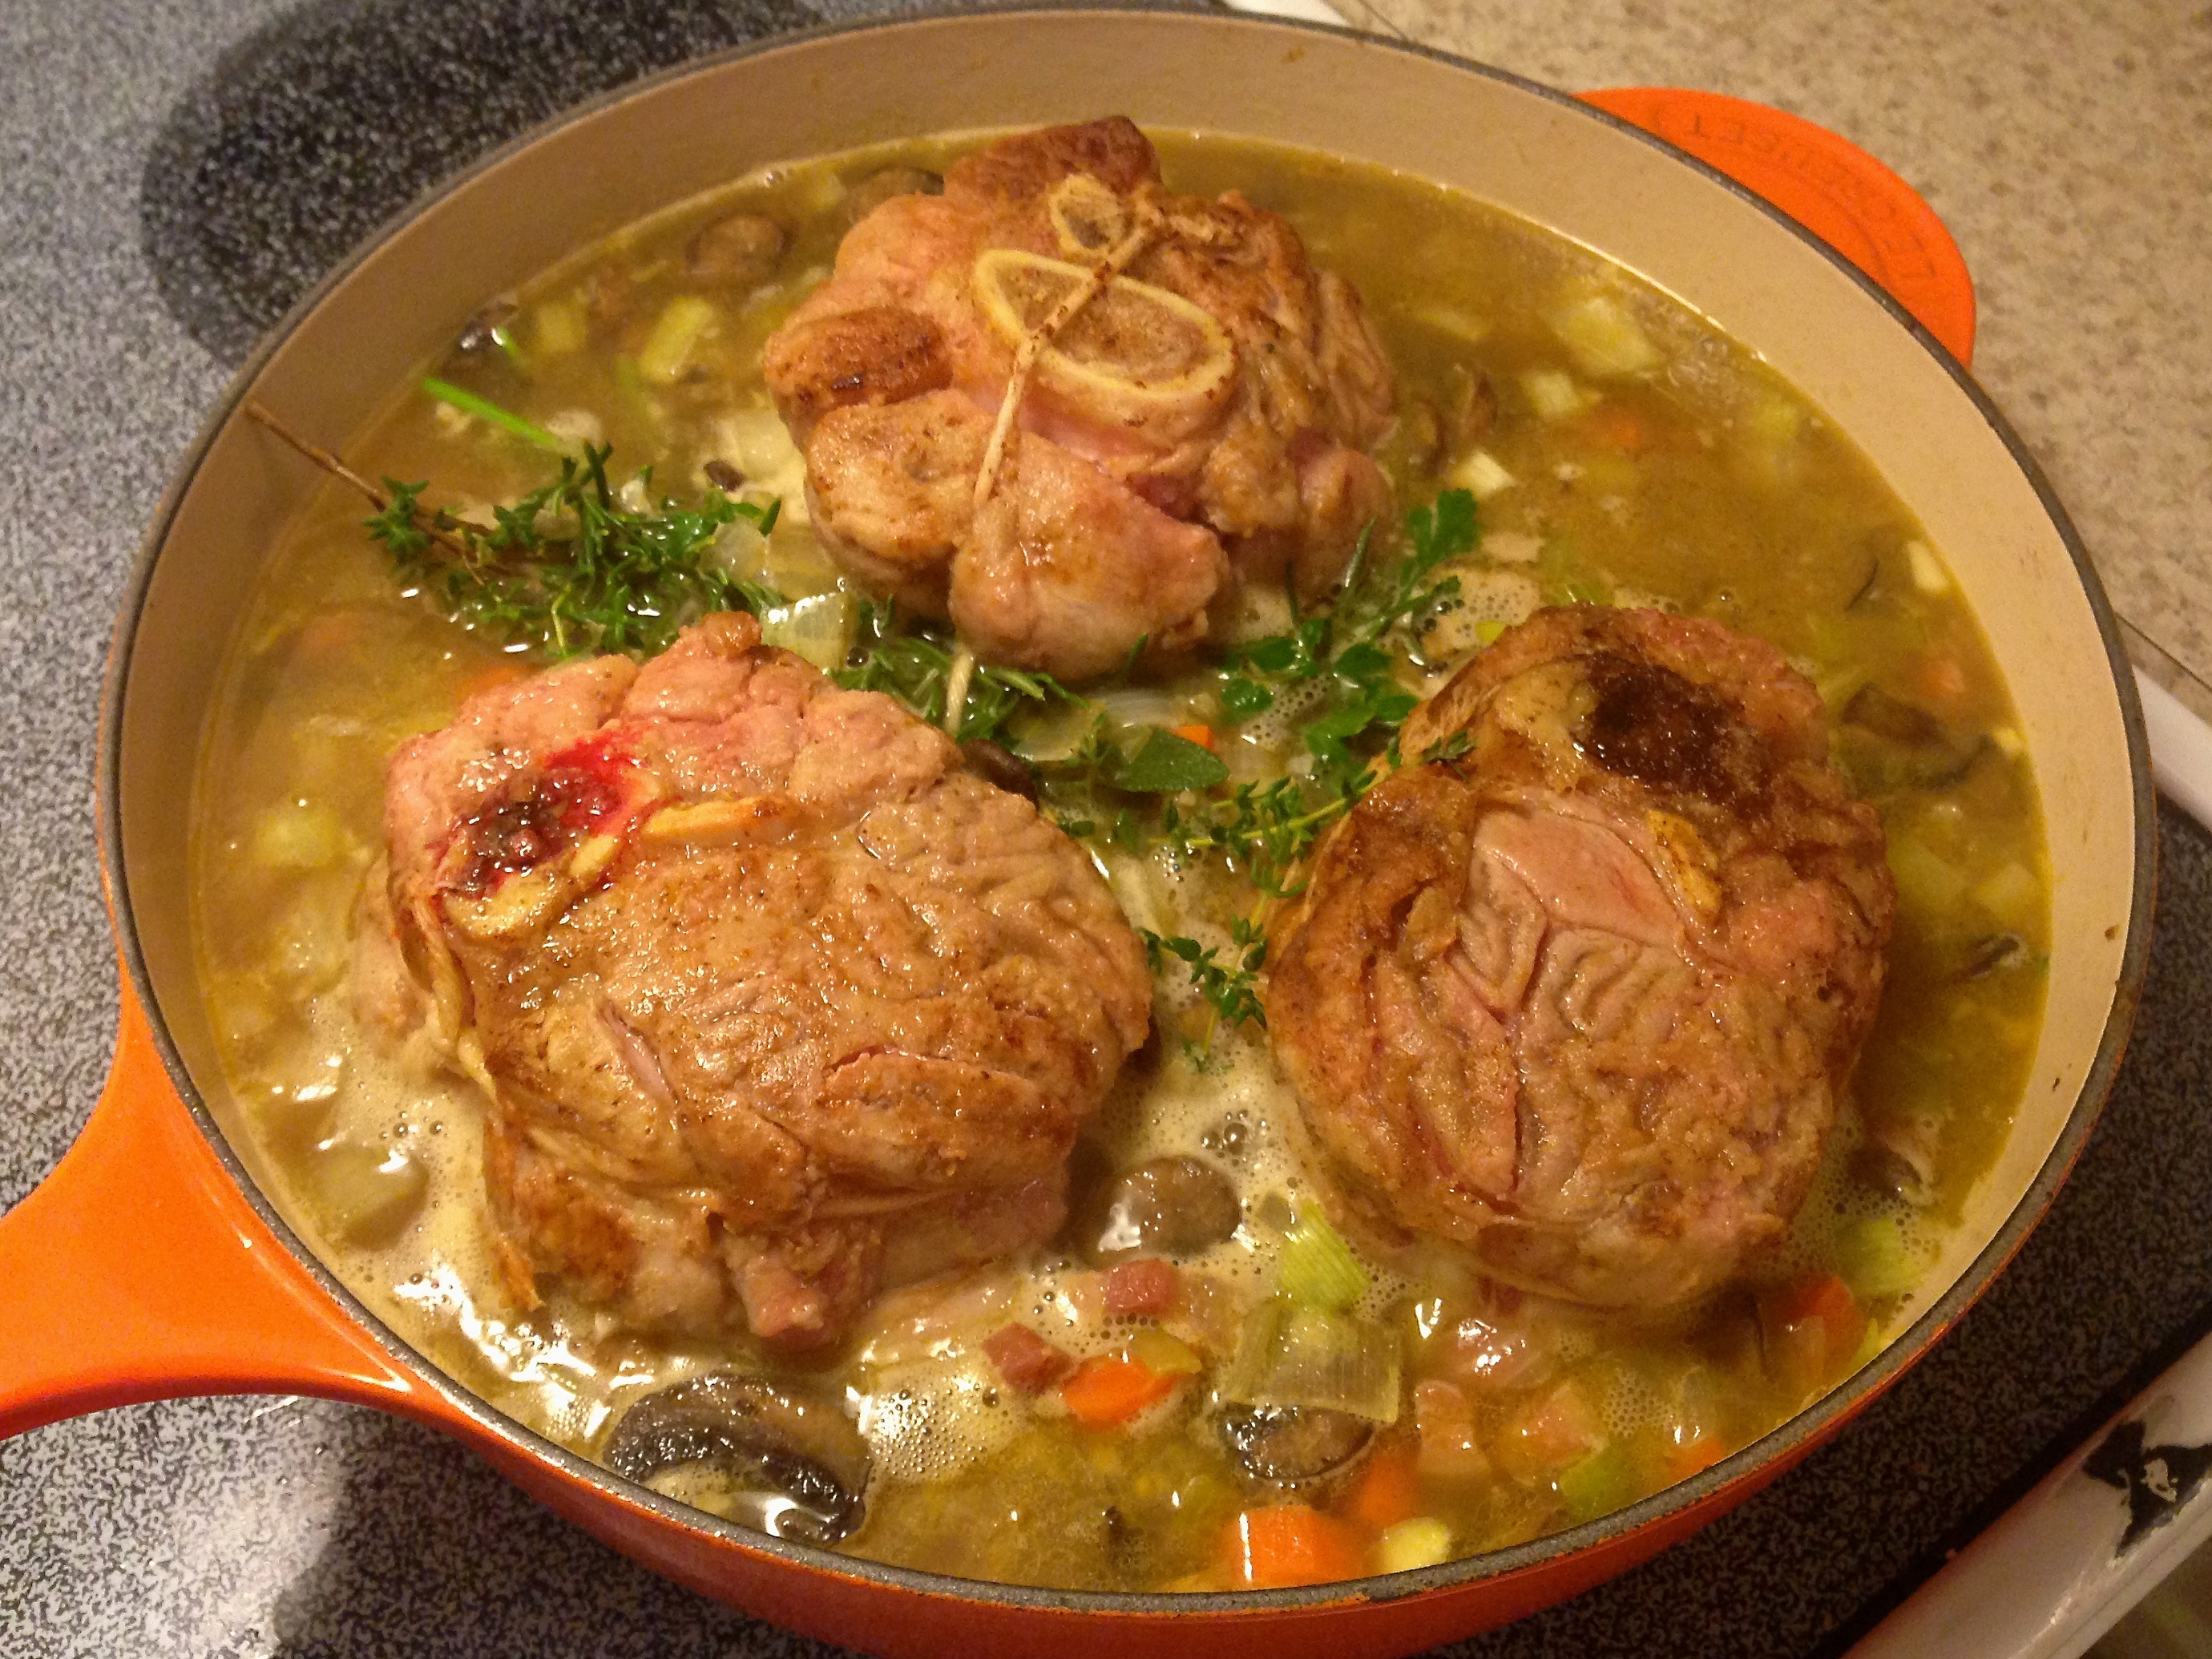
Osso buco just before going into the oven.
Add the wine and chicken and beef stock, scraping the pan with a wooden spoon or spatula to loosen the browned bits at the bottom. Introduce the shanks pack to the pan, add the bouquet garni, reserved pancetta, and salt and pepper to taste.
Allow the liquid to warm through, but not quite simmer, then cover the pan tightly and place in the oven for approximately 2 hours, or until the shanks are very tender.
Taste for seasoning, carefully remove the twine, and serve the shanks hot with the sauce atop polenta, mashed potatoes, or risotto.
(And don’t forget to dig into the marrow!)

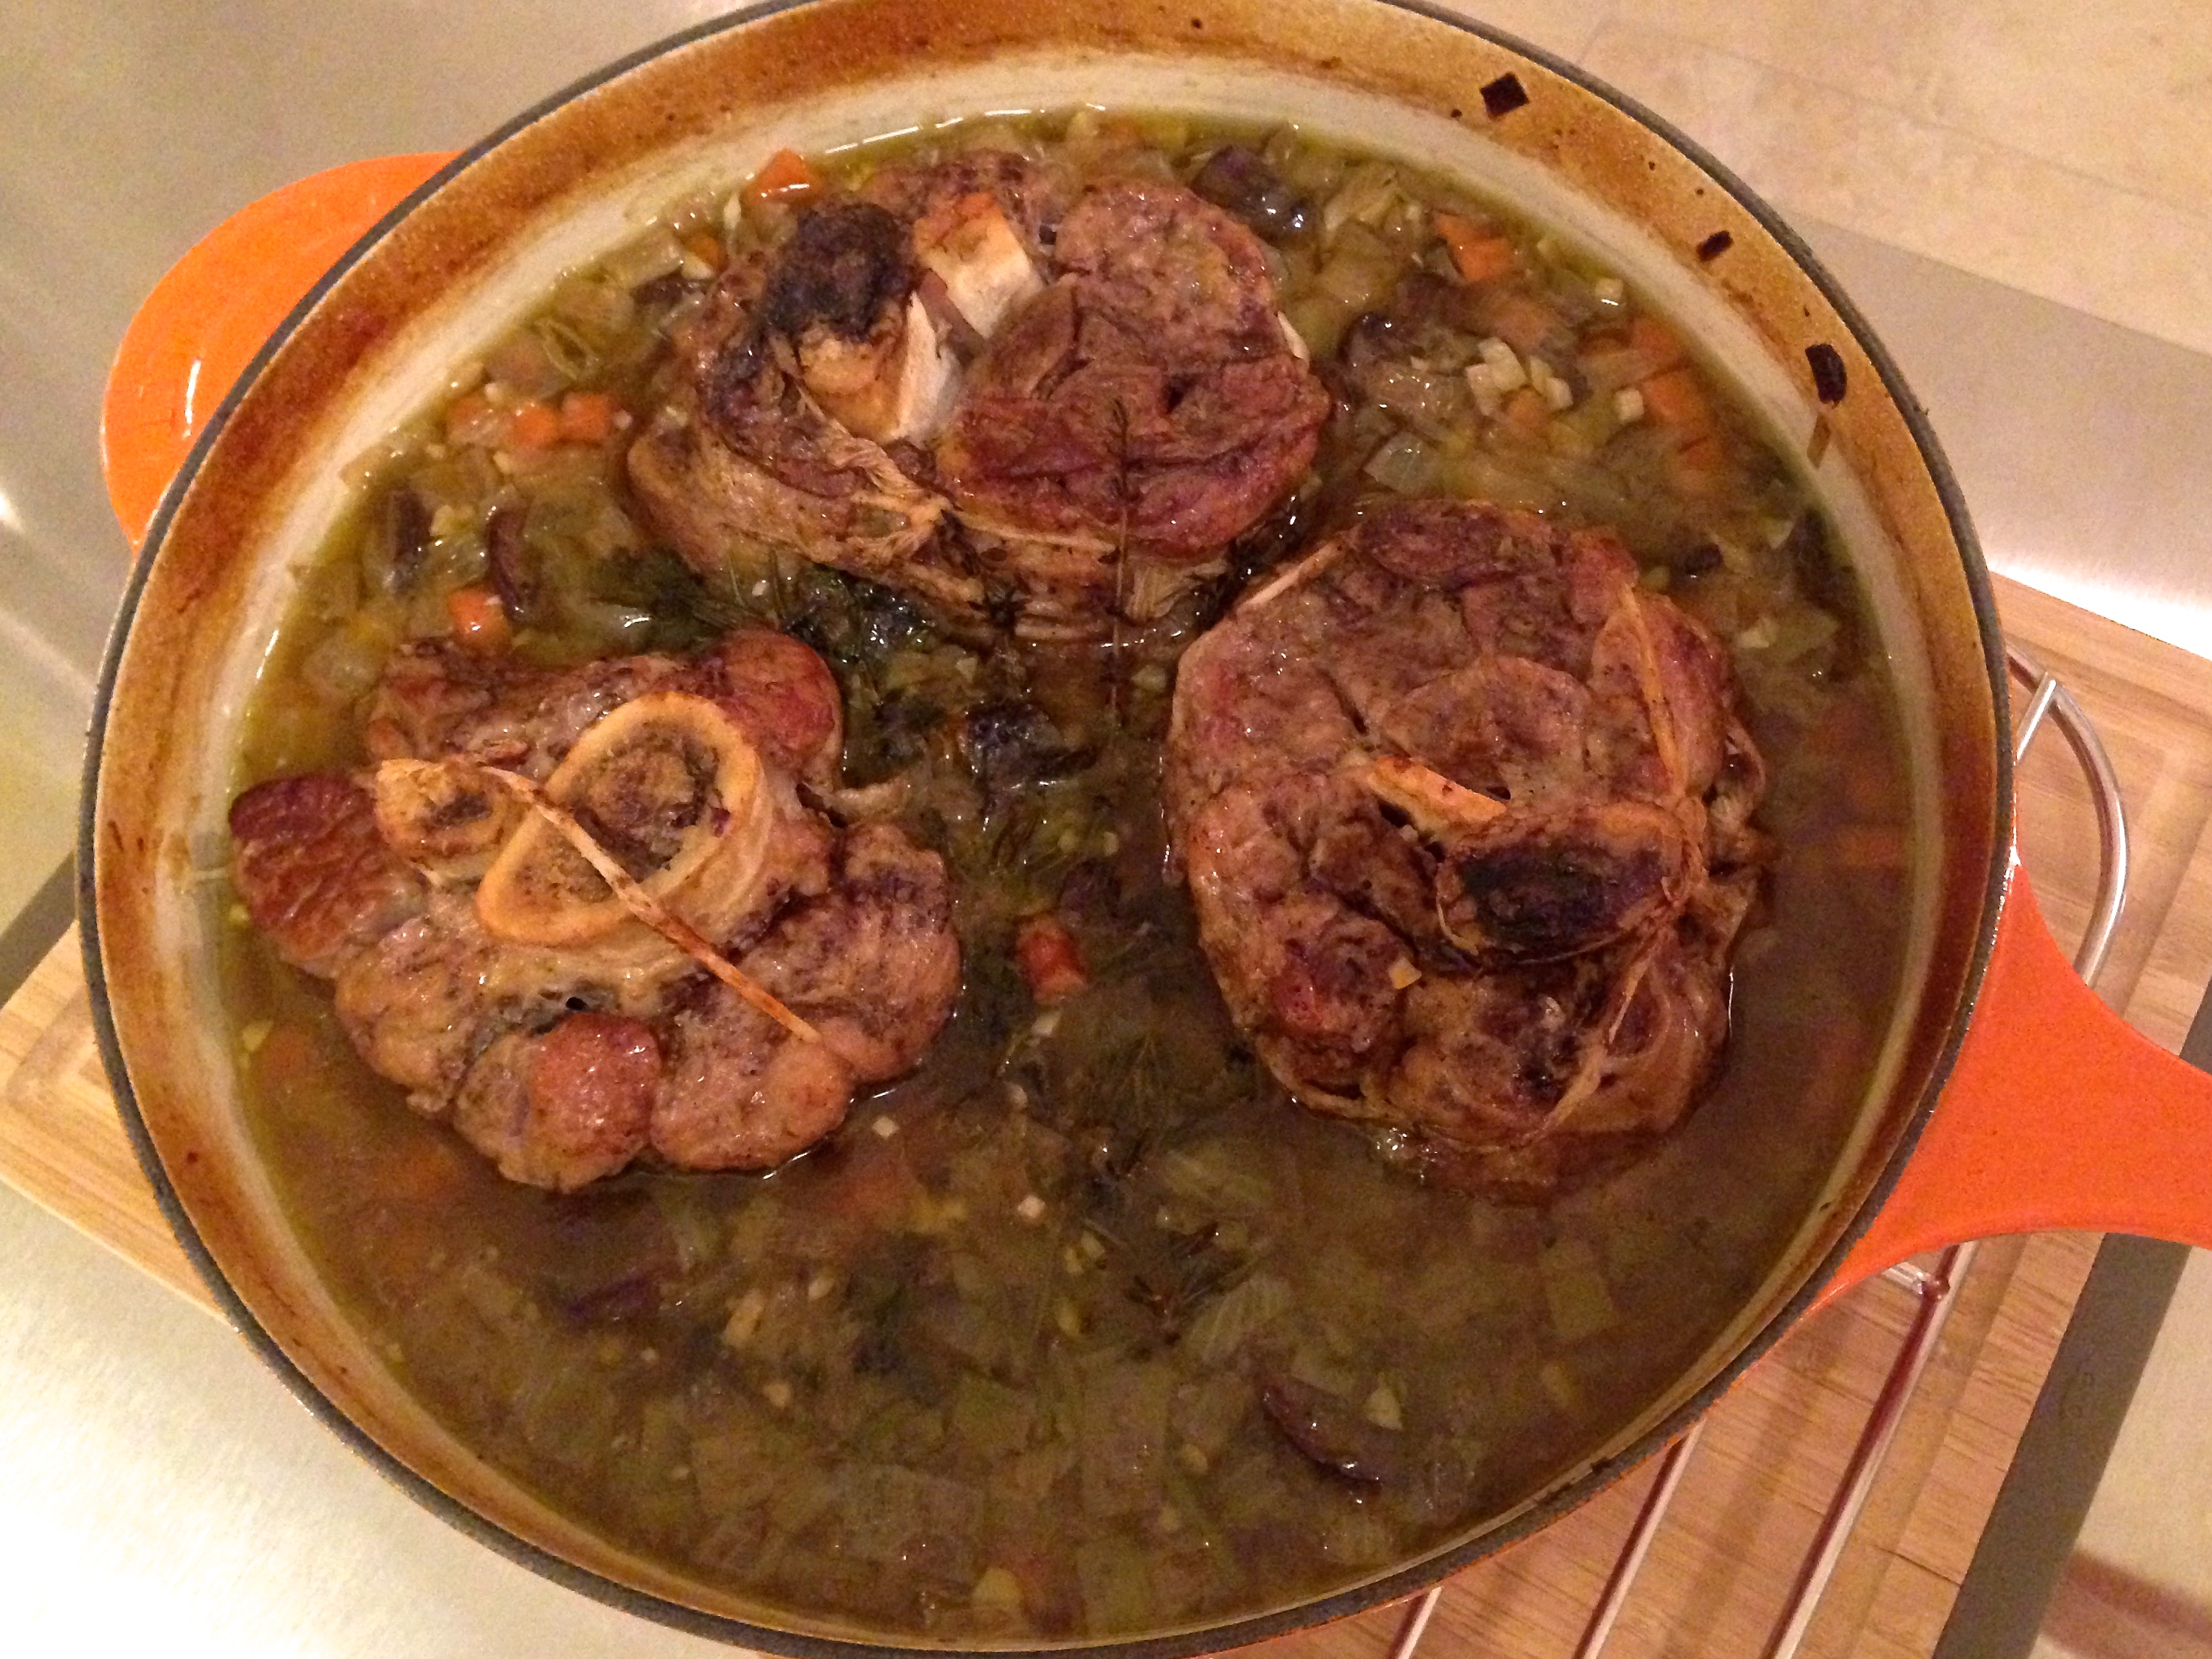
Hello, beautiful.
Sources
-
-
-

 What really drew me to this recipe was the white wine base (I’m slowly warming up to reds), the citrus and herbal notes, and the lack of chunky, floating fruit pieces. Sliced fruit may give sangria some lovely flavor, but I’m not a fan of spending a bunch of money and time on fruit just to soak it in perfectly good wine. Also, trying to drink my booze through fruit salad isn’t really my jam.
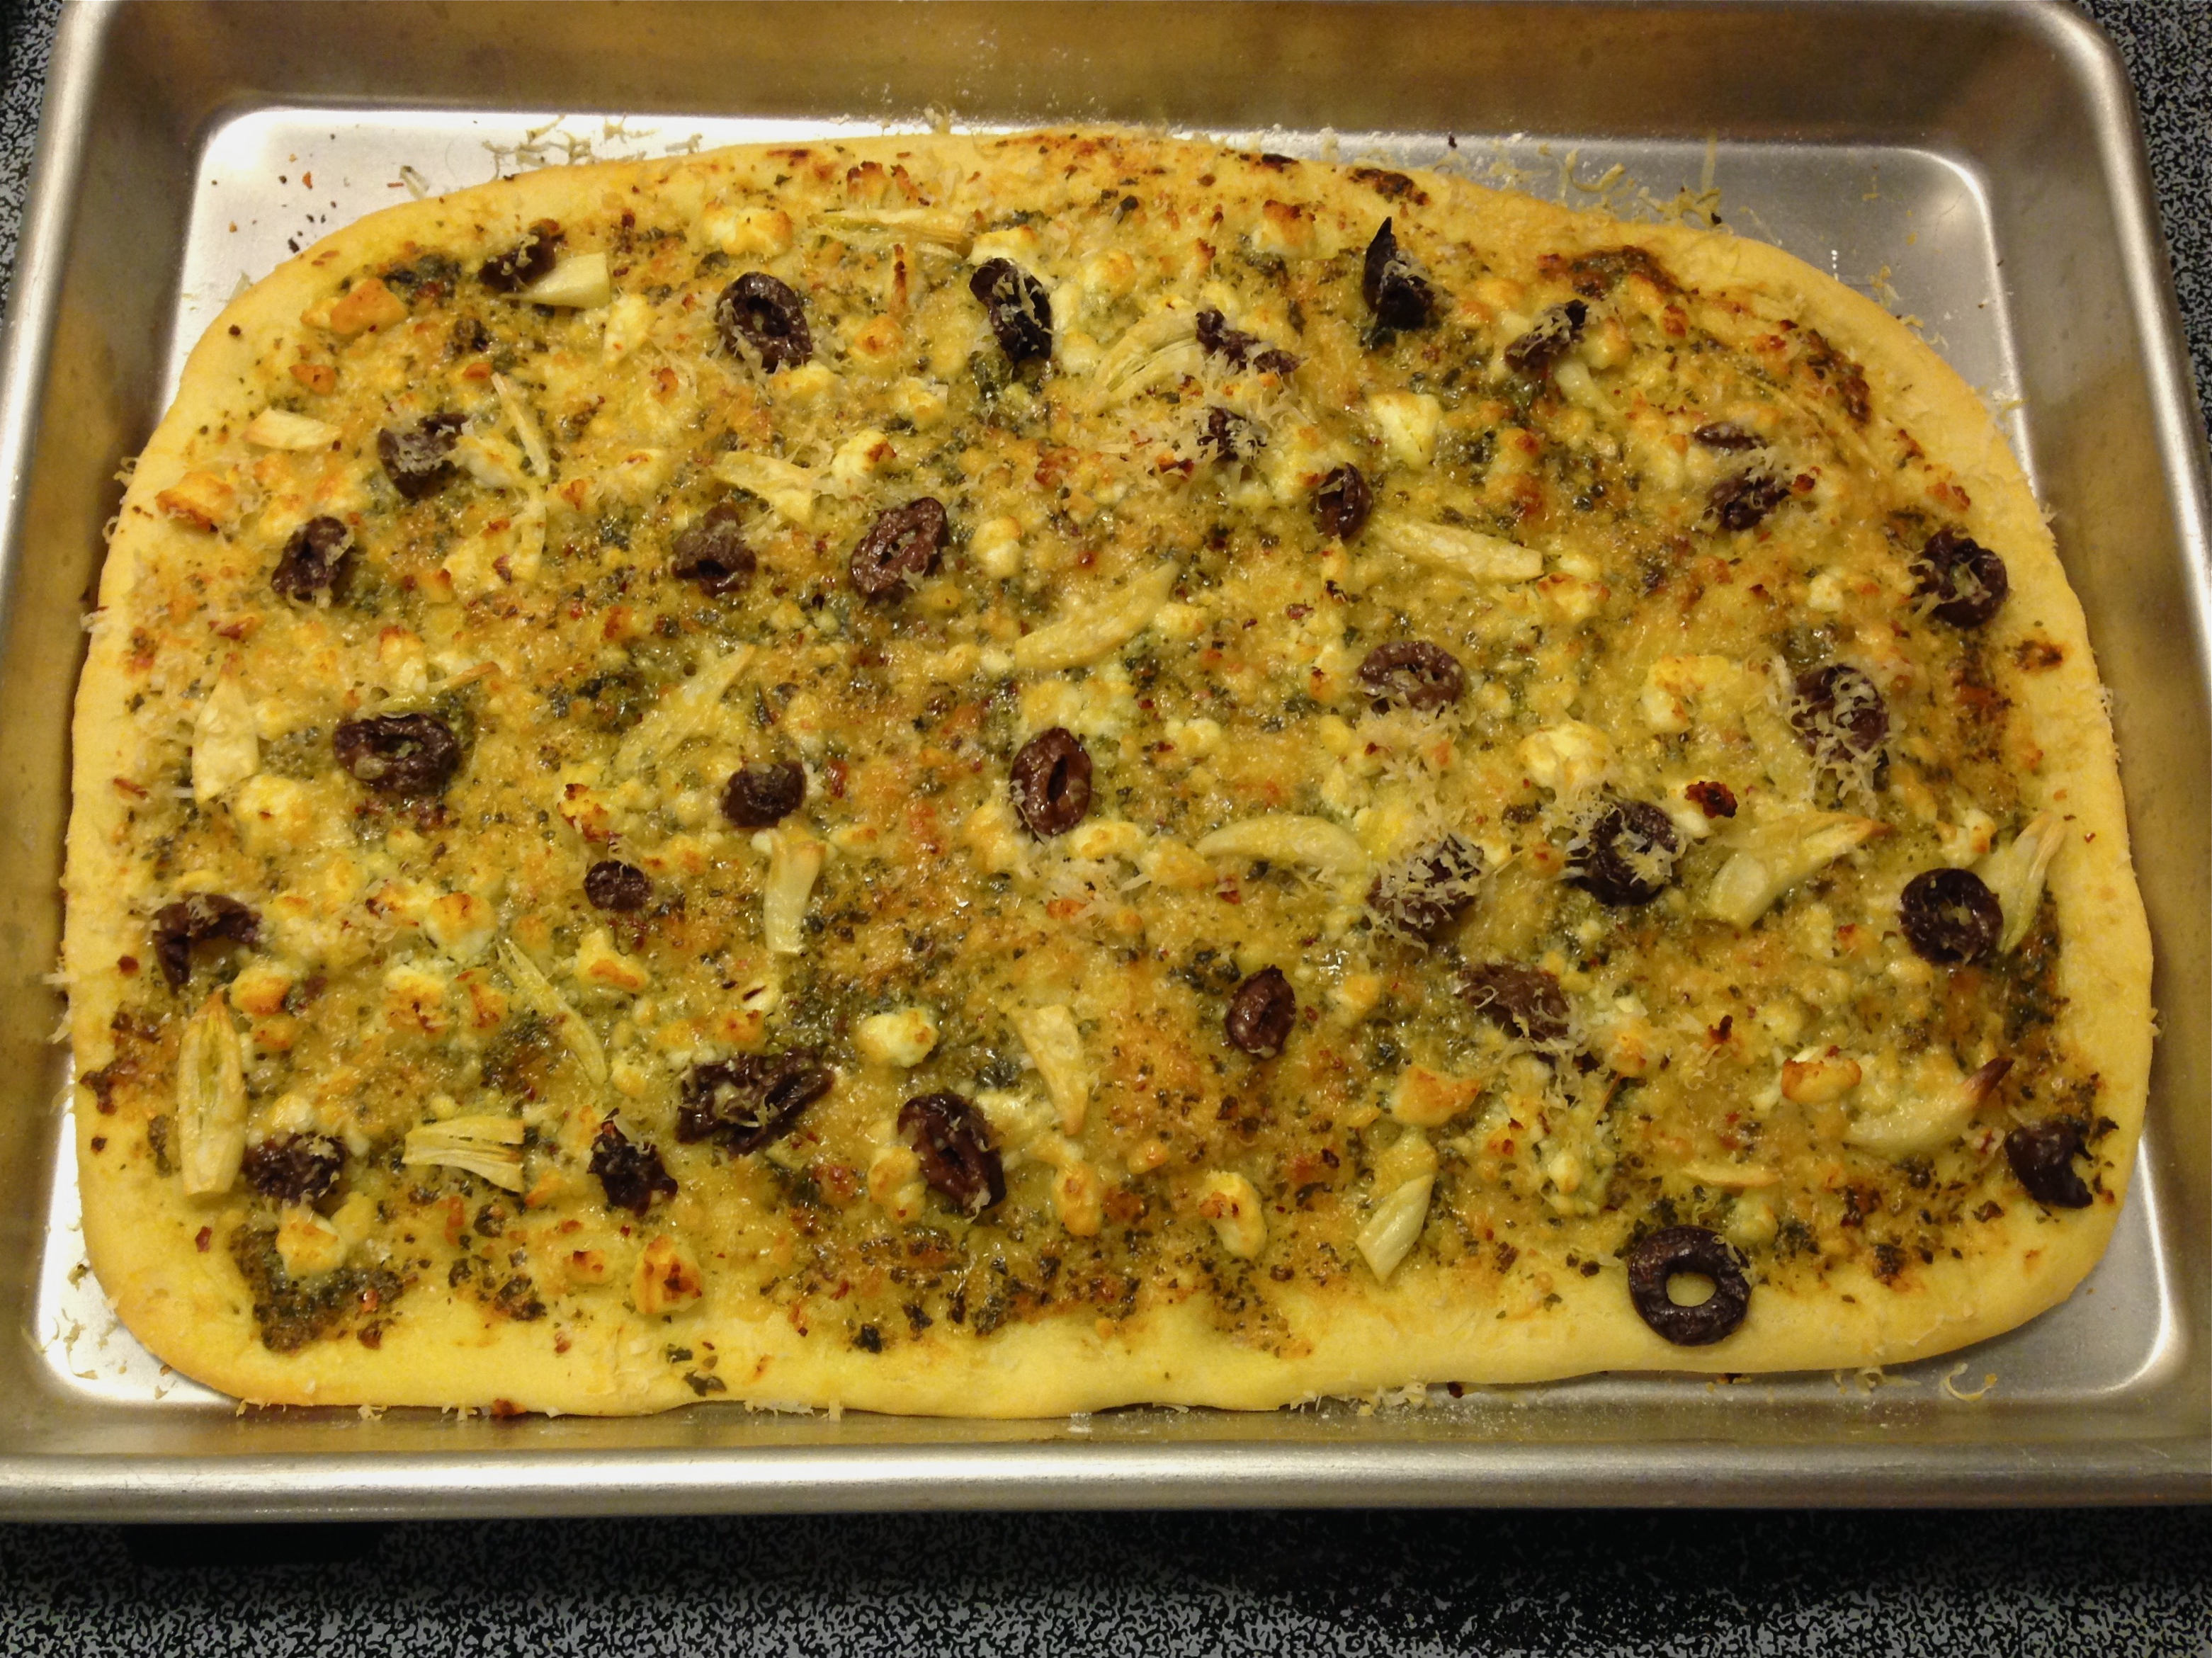 The other night I had a serious craving for pizza, but no tomato sauce, yeast for dough, or mozzarella on hand. Rather than ordering out, I decided to try my hand at making a yeast-less pizza dough. After I found a decent-looking recipe, I figured I’d attempt to hide a bit of my useless chick pea flour in the dough by substituting it for about 1/3 of the AP flour that was called for. It was absolutely delicious!